自从Intel Core2Duo正式上市后 强劲的效能
吸引不少追求效能的玩家升级选购
相对的超频性也是大家关注的话题
P965效能虽然比不上975X
但是在高外频与价格的表现 算是取得一个平衡点
P5B Deluxe目前大约六千台币 而P5WDG2-WS-PRO 大概要一万台币左右
讲这么多 效能到底如何 数据会证明一切 请各位继续看下去巴
P5B Deluxe 支援效能最强的Intel Core2Duo处理器
采用 Intel P965 晶片组 八相式电源设计 Stack Cool 2 散热导管设计
更支援华硕 AI NOS AI Gear 以及 AI Nap
使用者可以量身打造适用于自己的电脑运作速度
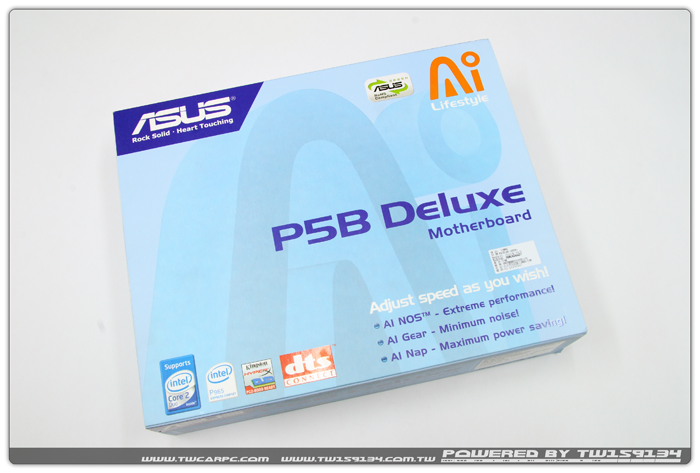
以水蓝色为底色 明确的标示出支援Core2Duo 与使用P965晶片组 并且通过Rohs认证
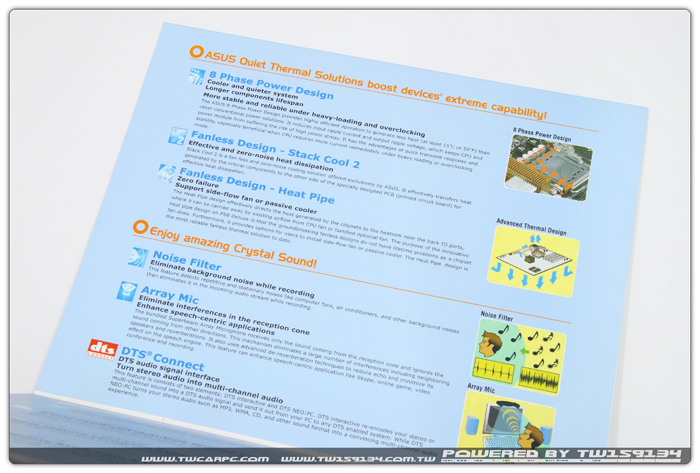
将上盖掀开 可看到这张主机板的特色简介
上半部依旧是主机板特色 下半部则标示出这张的特殊配件

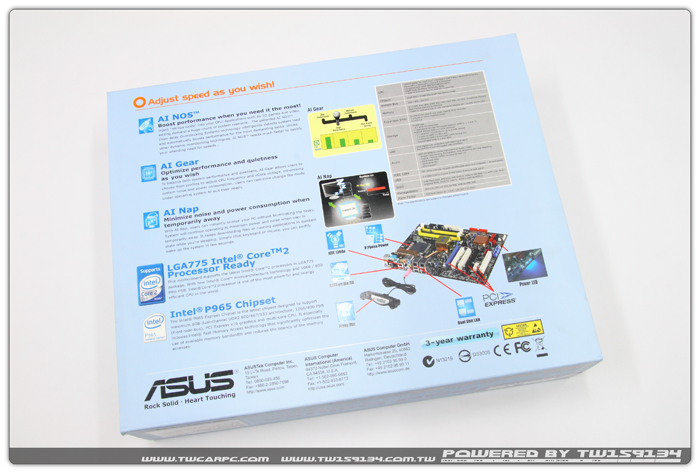
外盒背面右下角明确的表示出 产品的保固时间为三年
将外盒拿掉 就能看到内盒噜
掀开上盖 满满的配件映入眼前
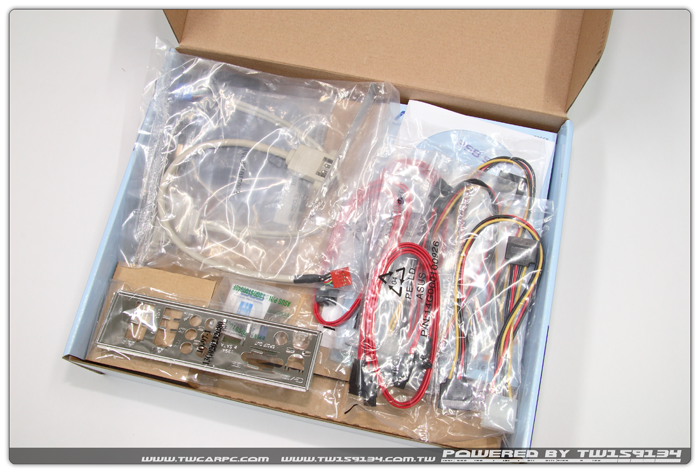
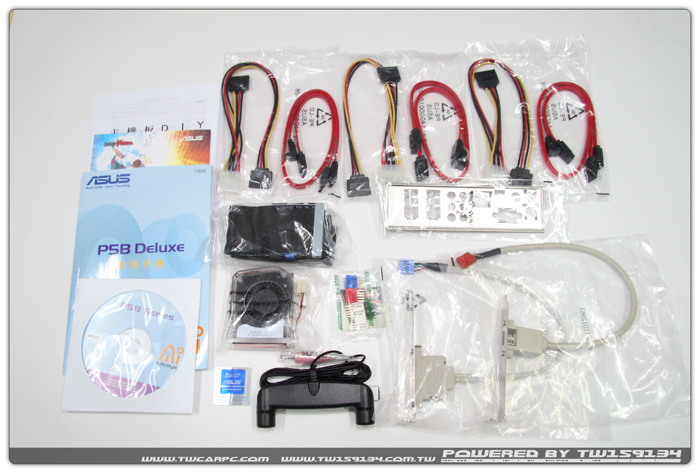
总共有 6条SATA排线与电源线 PATA与软碟机排线各一条 还有USB与IEEE1394的扩充档版
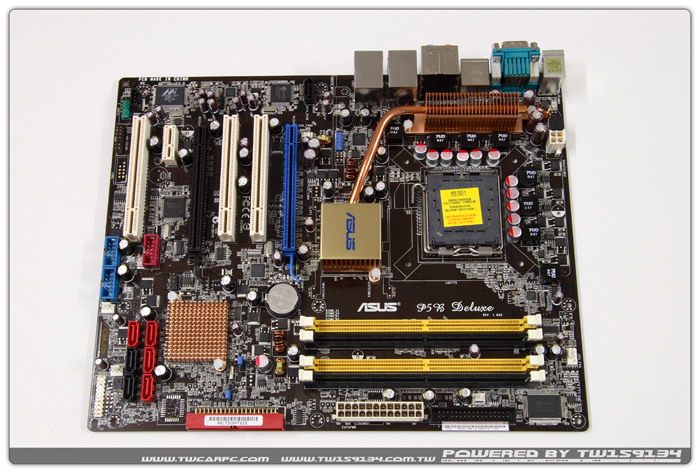
主机板防焊漆采用黑色系 整张板子使用日系电容 以上两点对于爽度的提升都有所帮助
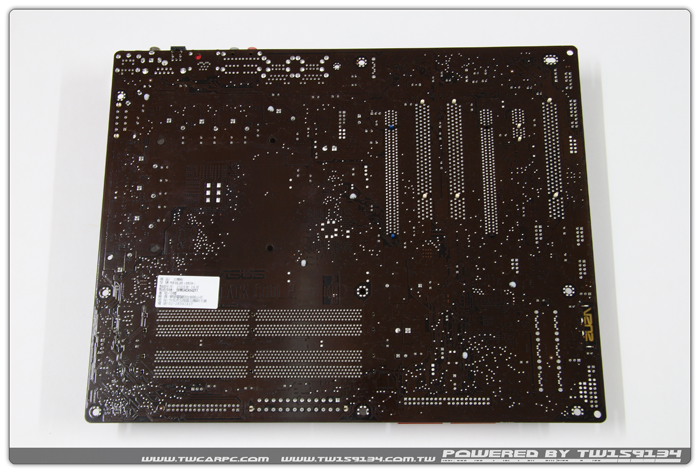
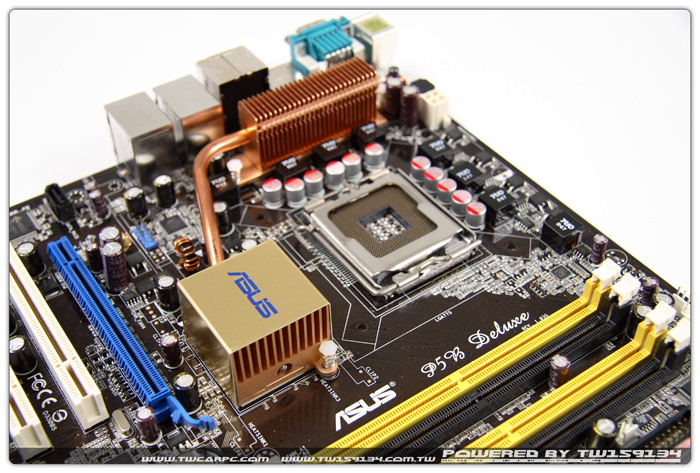
主机板背面 采用ASUS Stack Cool 2 技术
将电脑中主要组件散发出的温度传递至另一端 达到高效的热能散发
北桥散热器 无风扇设计不用担心风扇的寿命问题
采用铜制的导热管与散热片 以达到最佳散热的效果
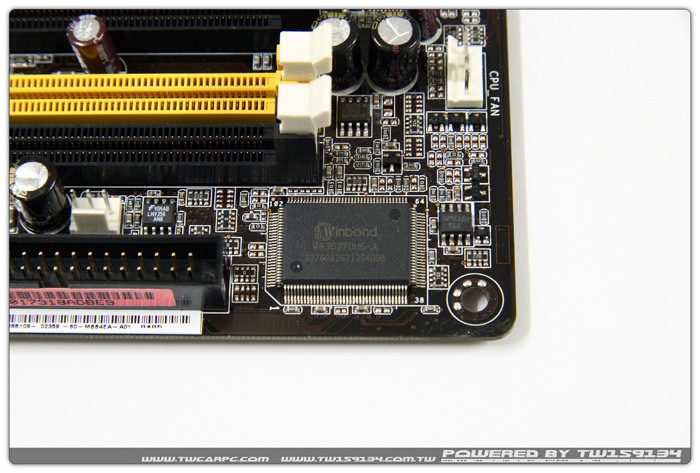
Winbond W83627 温度监控IC 支援Intel PECI (Platform Environment Control Interface)
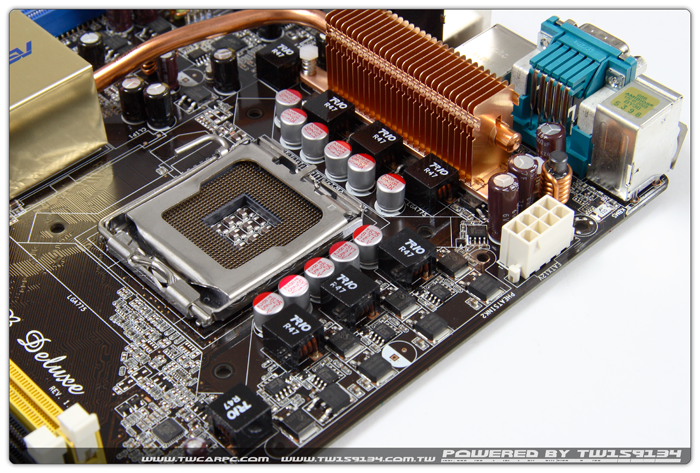
八相式电源设计能更有效降低输入涟波与输出纹波电压
且CPU 在高负载或超频运作下 八相式电源能使得 CPU 得到最稳定的电源供应
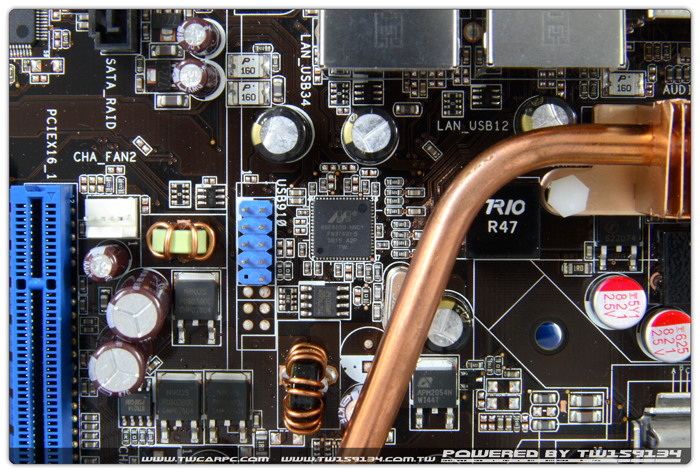
Marvell 88E8056-NNC1 Gigabit Controller PNY
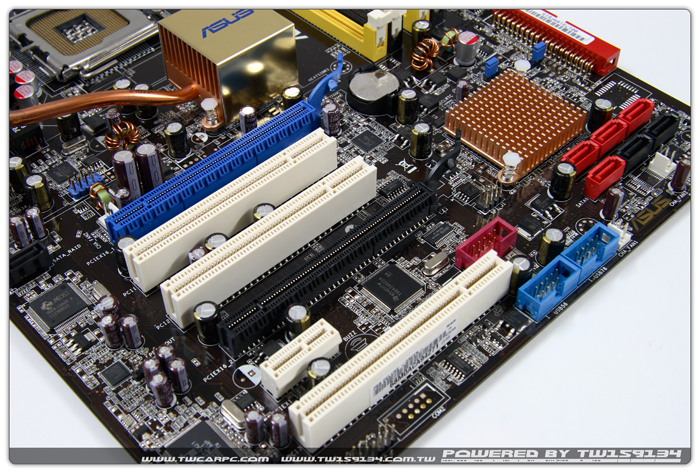
2 x PCI-E x16 (蓝色于x16 模式时 黑色为x2 或 x4 模式)
1 x PCI-E x1 (x1 或关闭)
3 x PCI 2.2
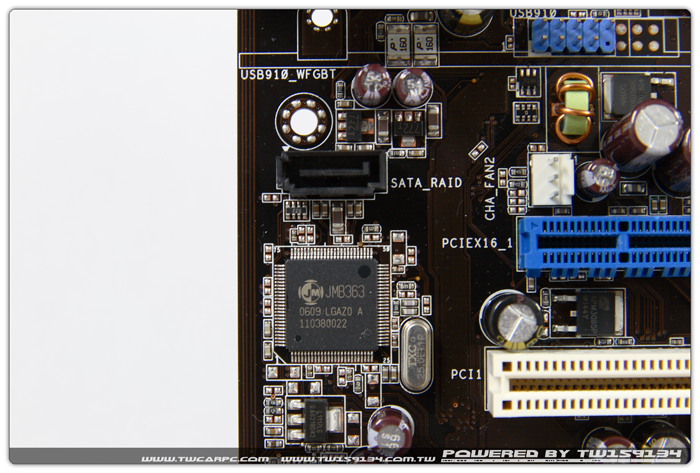
JMB363为PCI Express介面 2 port SATA II 与 1 port PATA控制器,除支援eSATA规格外,并提供RAID 0,1功能
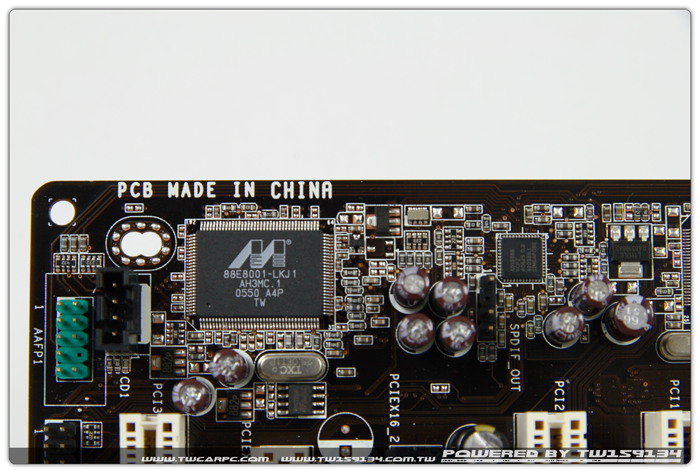
左为Marvell Yukon 88E8001 32-bit Gigabit Ethernet Controller 右为 Analog Devices AD1986 - ACྜྷ音效
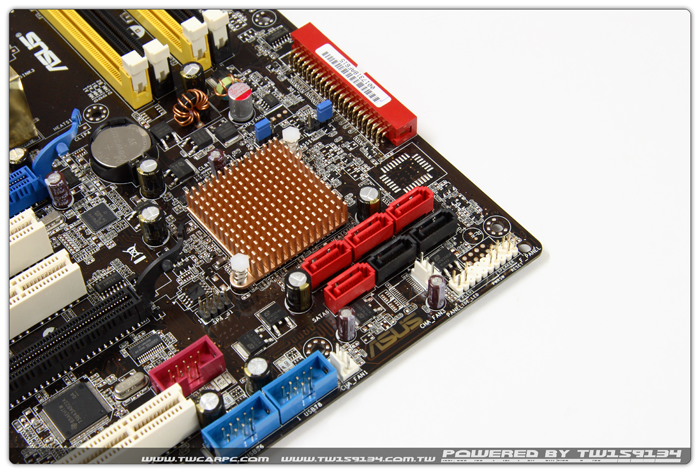
南桥ICH8R安装了散热片 减低运作时的温度
共有六个SATAII插槽 PATA为JMB363所负责
Q-Connector 能先将机壳中电源开关重开机等按键先安装好 版子装入机壳时只需要整组插入即可
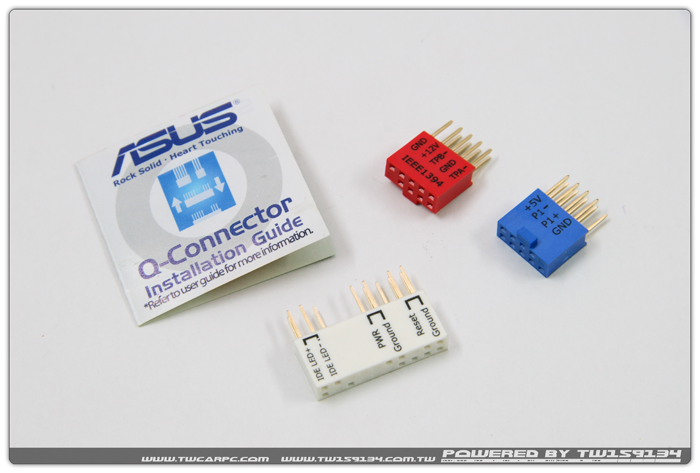
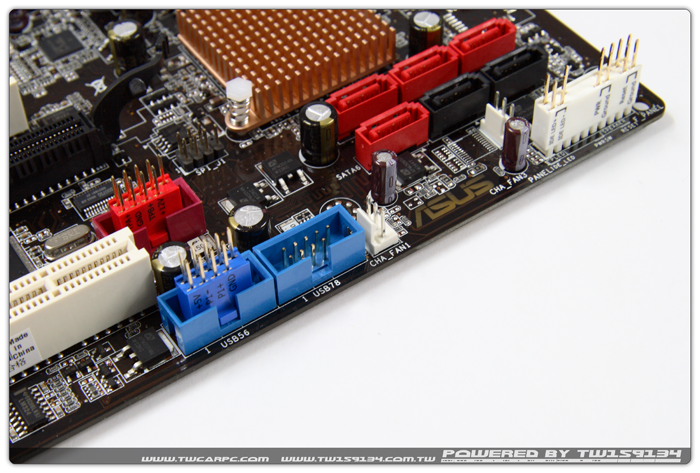
安装上主机板的样子 侧面都有明确的标示出接脚用途
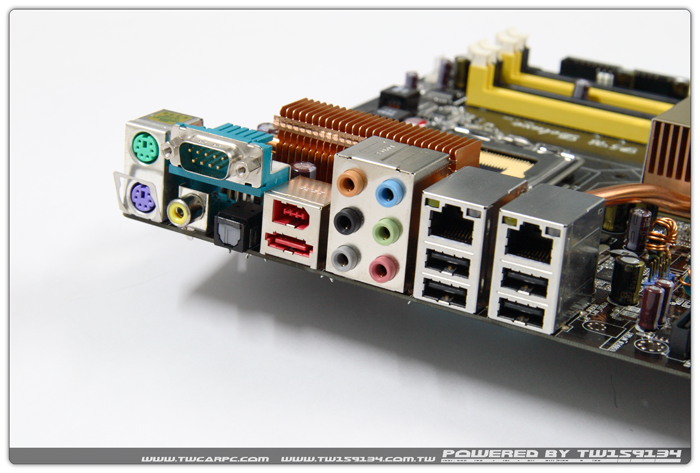
背板 I/O 埠 1 x PS/2 键盘 1 x PS/2 滑鼠
1 x Serial 连接埠 1 x S/PDIF 输出 (Coaxial + Optical)
1 x 外接式 SATA 1 x IEEE1394a
2 x Gigabit网路 4 x USB 2.0/1.1 8-Channel 音效 I/O
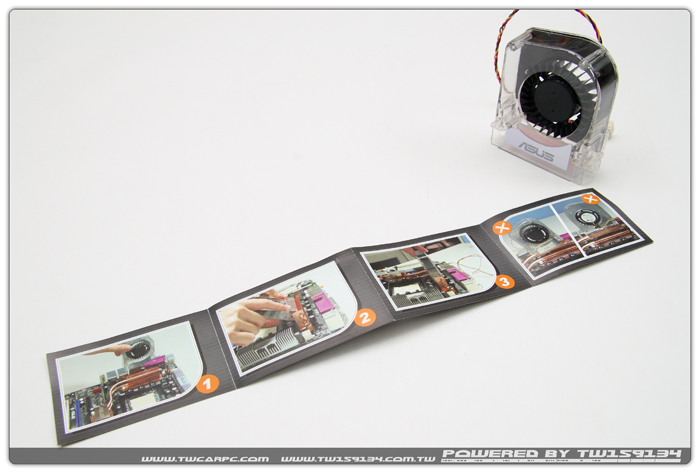
水冷式散热系统或诱导式冷却设计专用风扇
当使用水冷式散热系统或诱导式冷却设计时能确保北桥散热器有足够的散热效果
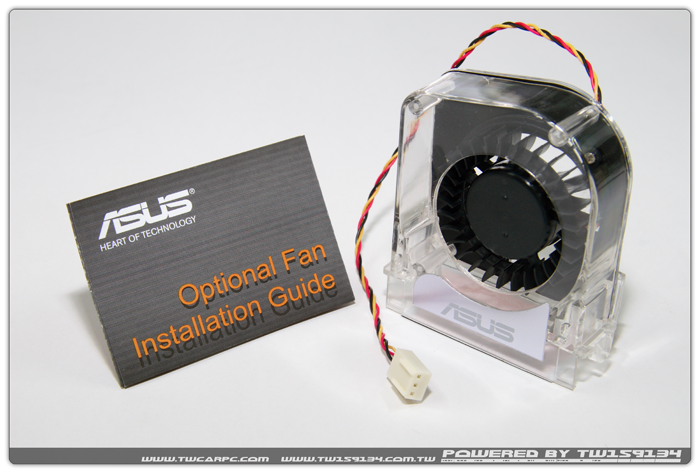
三个步骤即可安装完成 说明书有详细的安装方式
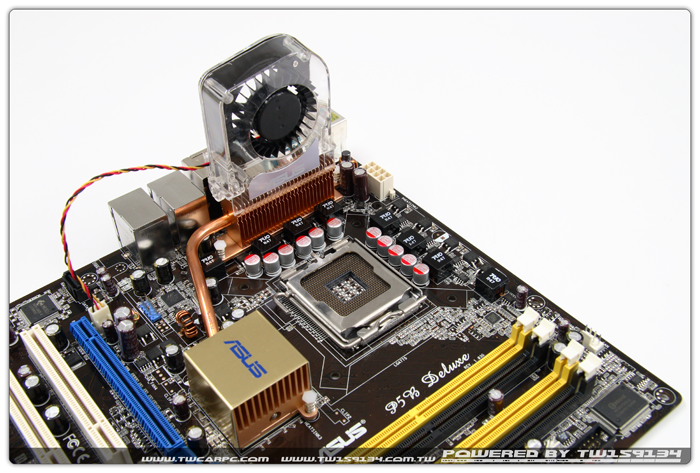
装上北桥散热器的样子
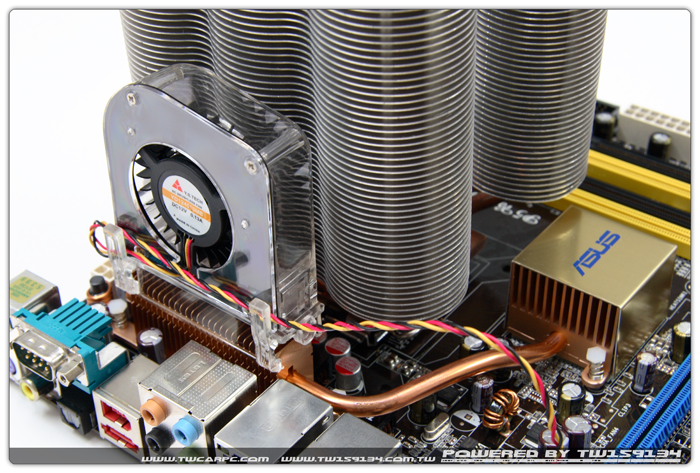
安装较大型的空冷散热器时 须注意是否会产生干涉
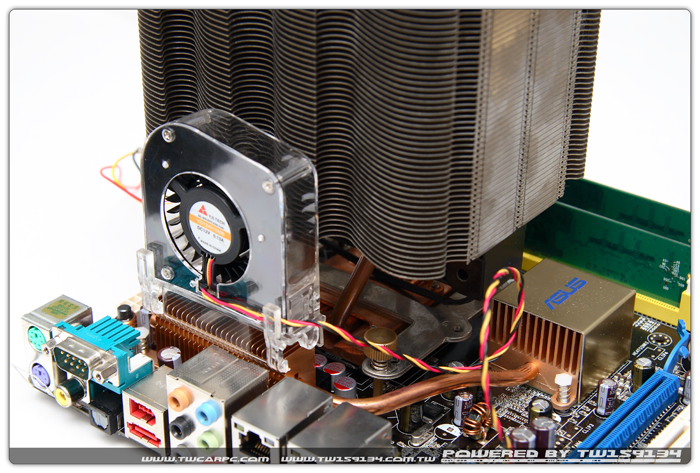
安装 Tower 120
这次所选用的CPU与记忆体
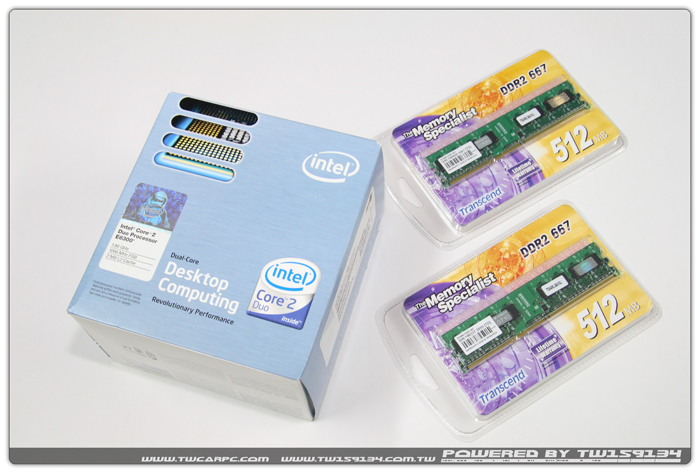
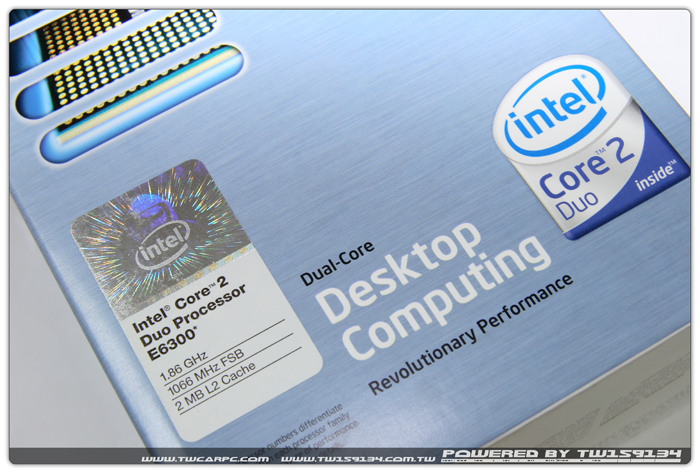
Intel Core2Duo E6300 1.86Ghz FSB1066Mhz L2 2M
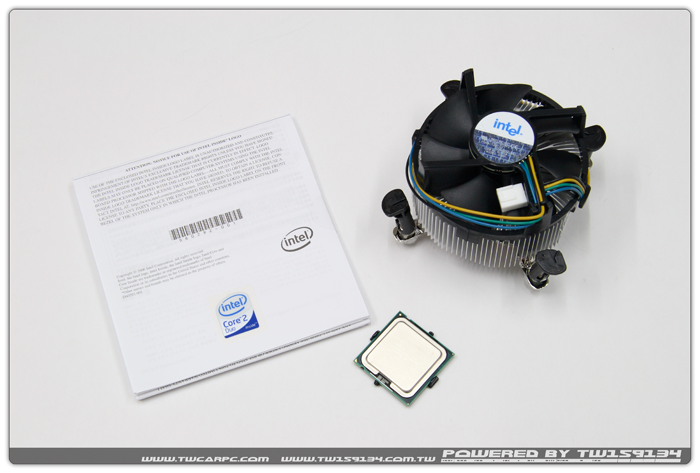
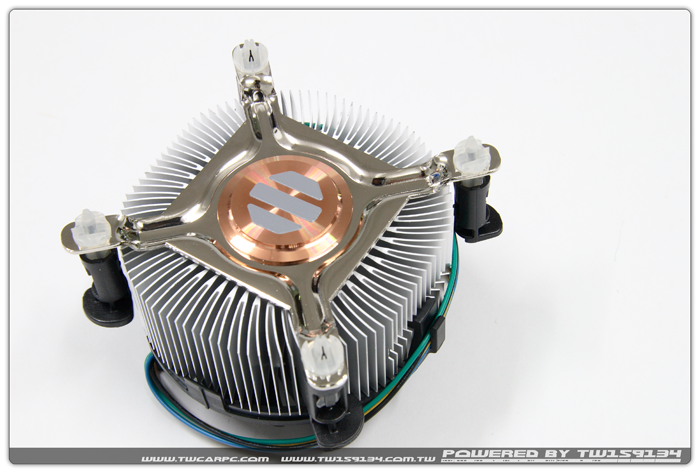
原厂散热器中央为铜柱 旁边为铝挤
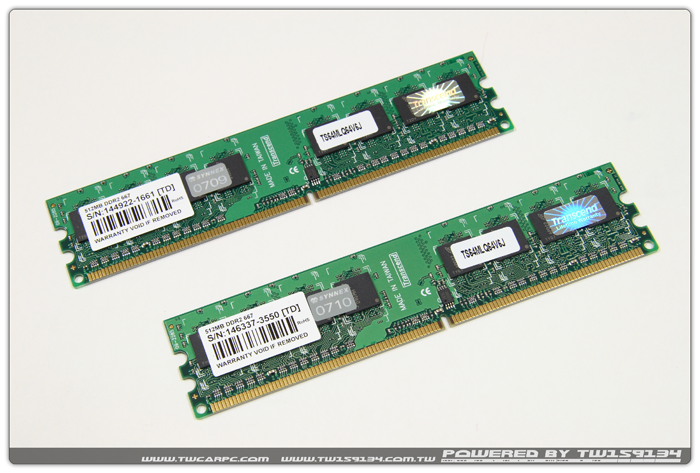
创见D9 GHM 512MB两条
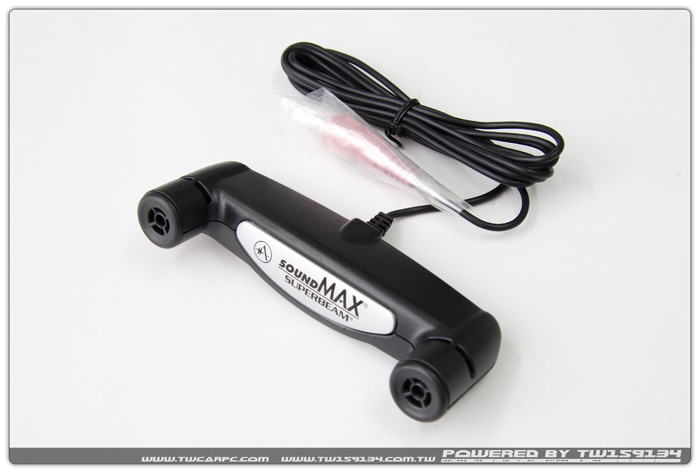
内附的 Superbeam Array Microphone 麦克风仅会将圆锥状声音接收器边的声音
排除掉四面八方而来的杂音 能够有效消除许多外界喇叭或音波的干扰 更能将回音降至最低
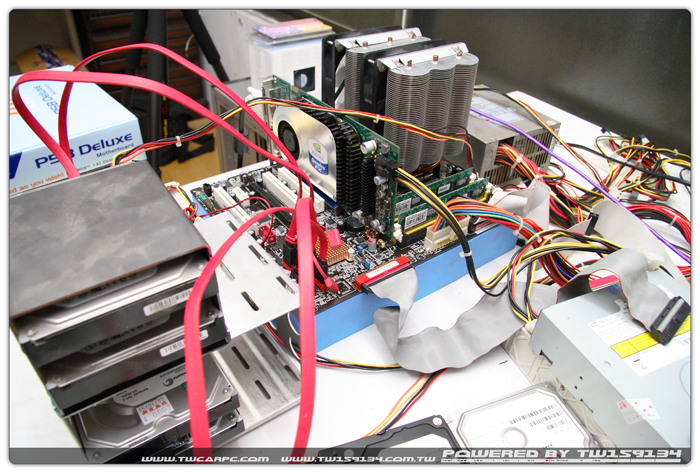
组件外观介绍的差不多了 赶紧组成平台 来测试噜!!
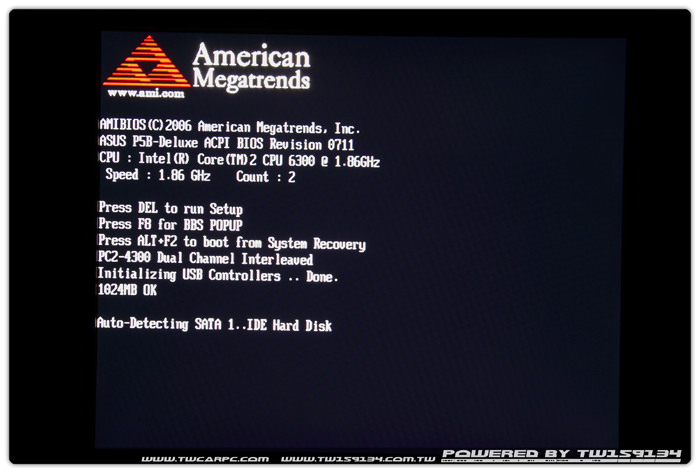
先从BIOS来看看
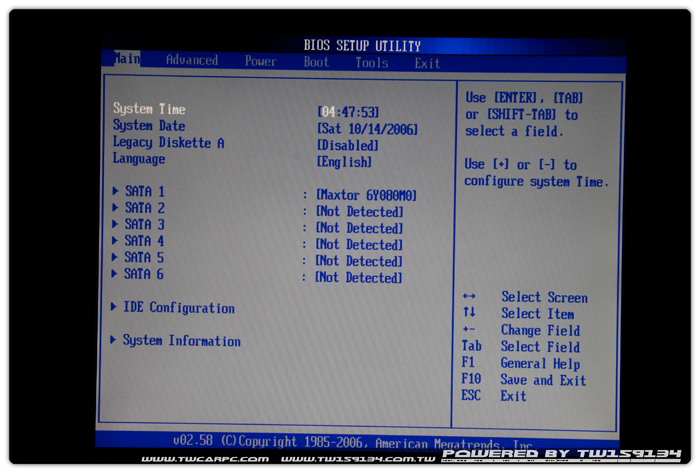
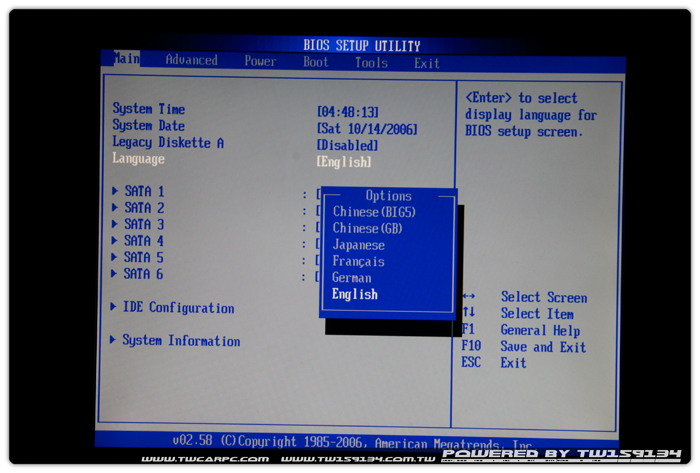
共有六国语言可供选择 不用怕看不懂
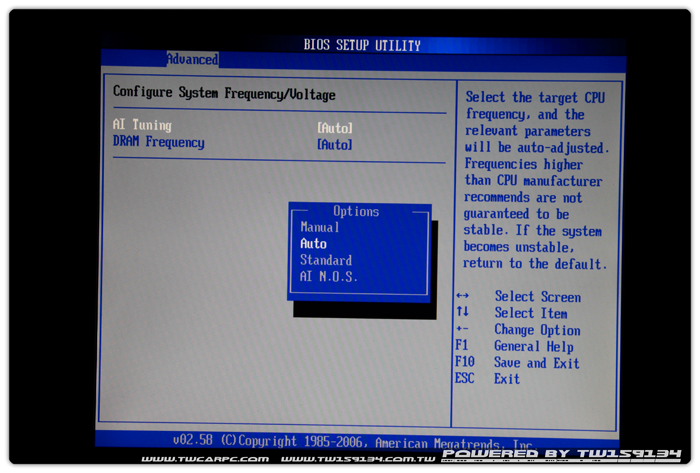
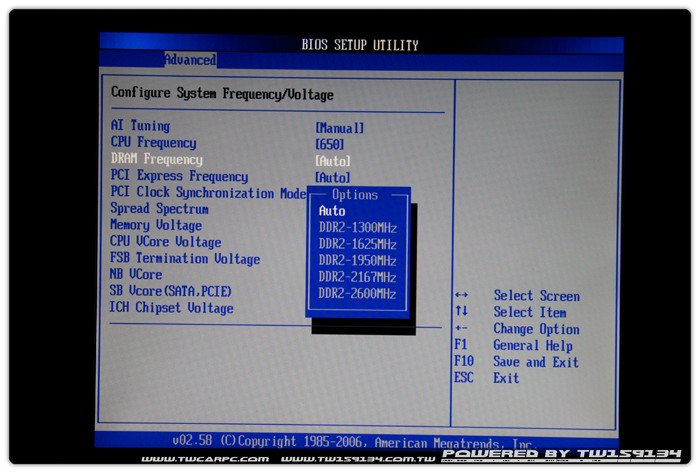
CPU外频最高可调整至650 DRAM频率共有五种比例可供选择
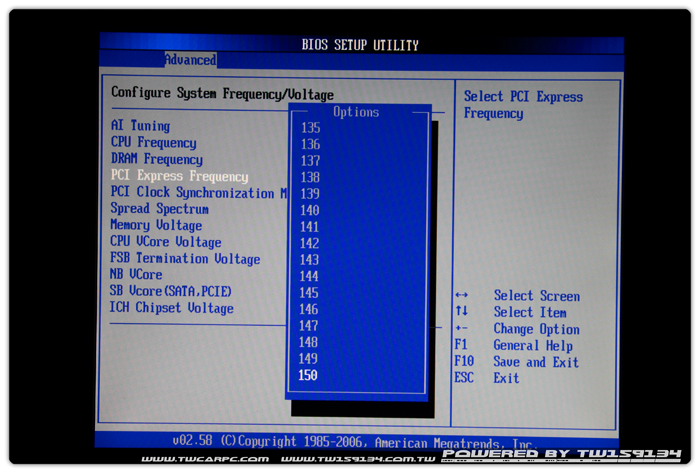
PCIE 最低频率为90
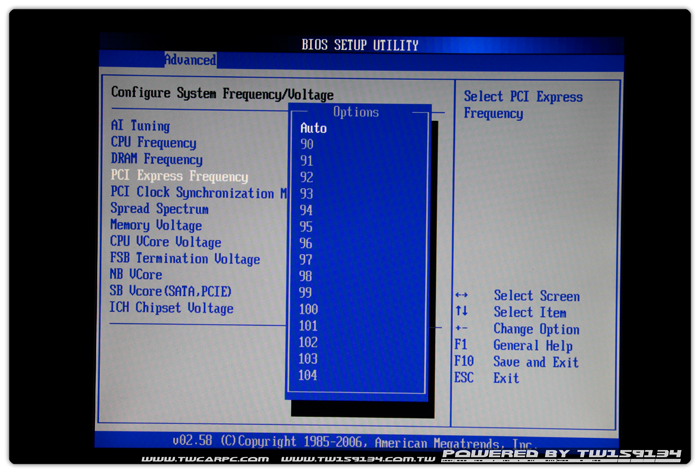
PCIE 最高频率为150
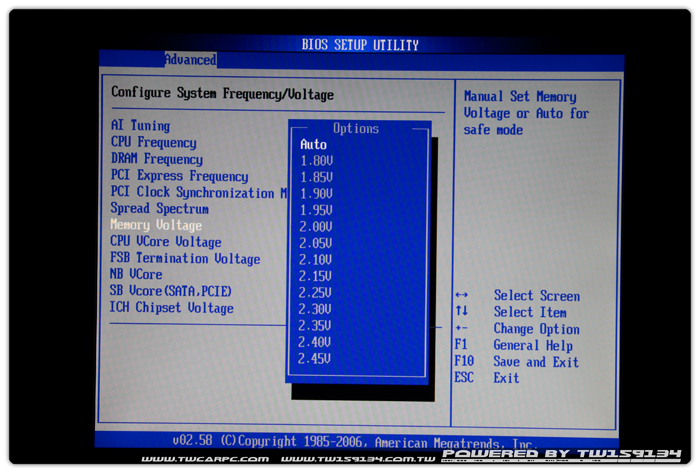
记忆体电压选项范围1.8V~2.45V
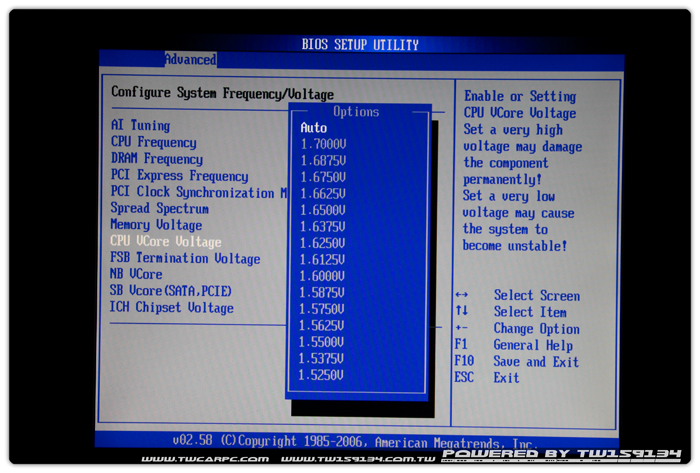
CPU电压选项 最高电压1.7v
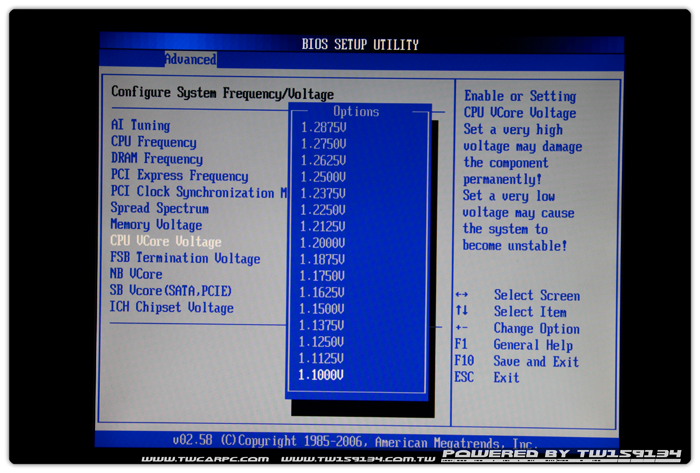
CPU电压选项 最低电压1.1v
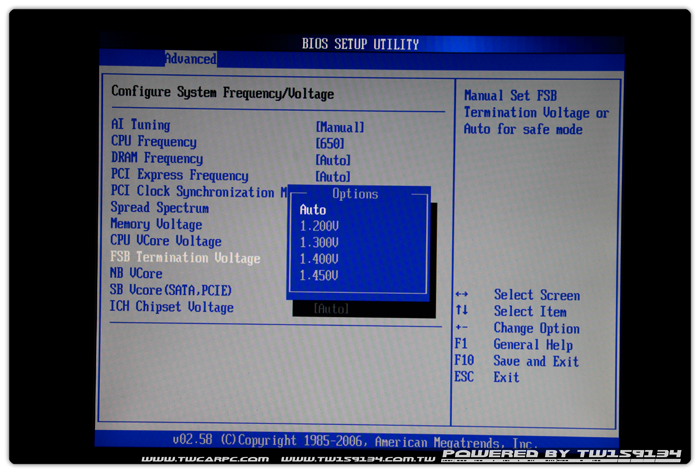
FSB Termination 电压选项范围 1.2v~1.45v
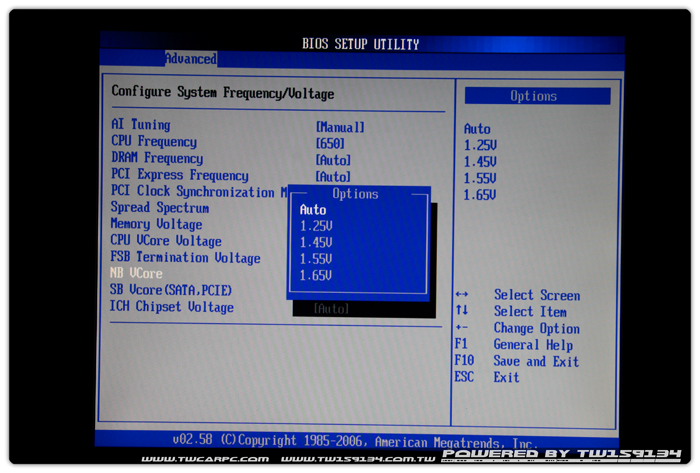
北桥电压 1.25V~1.65V
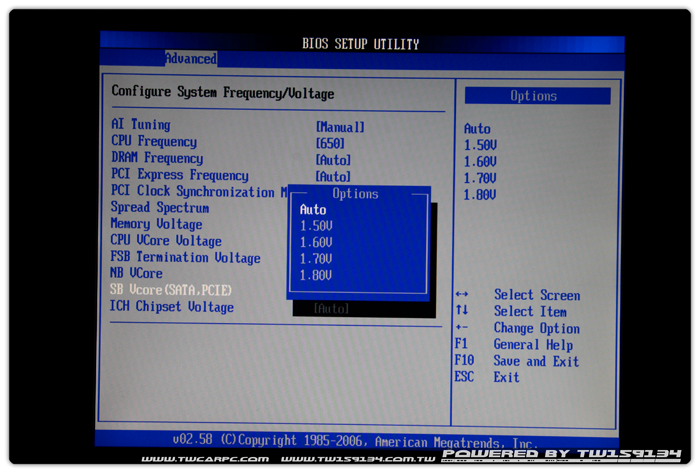
SB Vcore 1.5V~1.8V
南桥电压 1.075V~1.215V

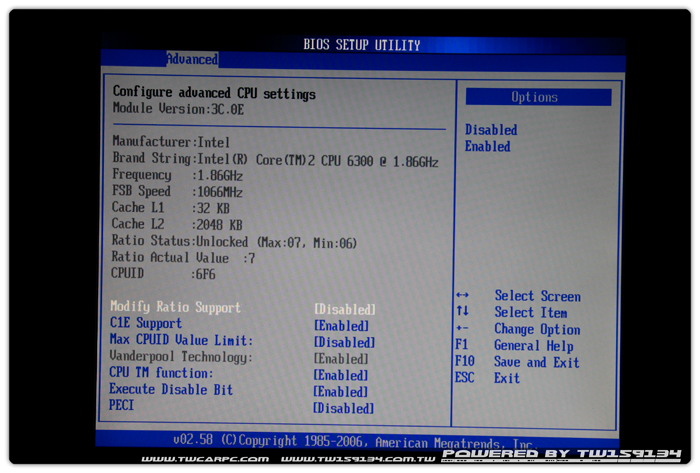
CPU设定选项
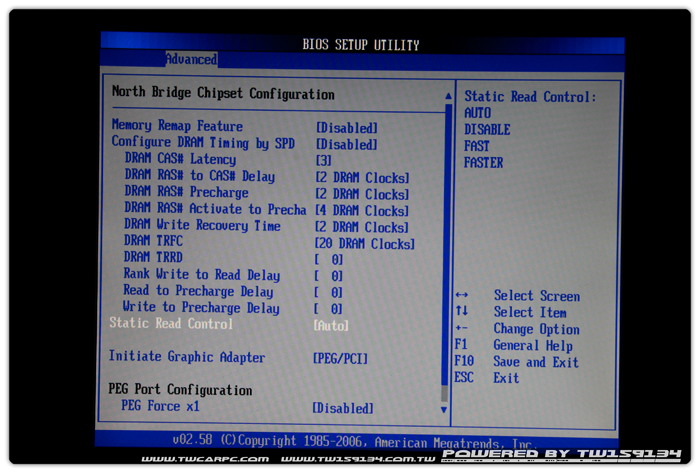
北桥选项 DRAM参数最低值
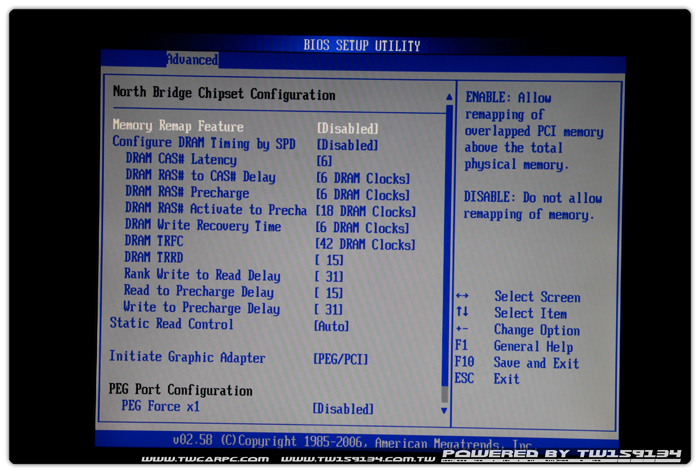
北桥选项 DRAM参数最高值
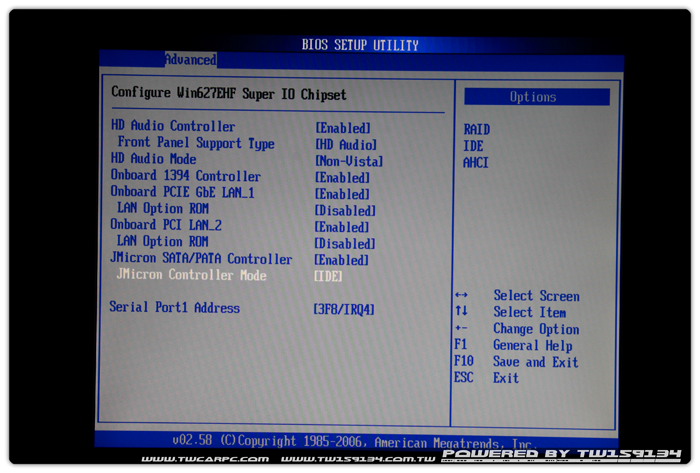
I/O设定页面
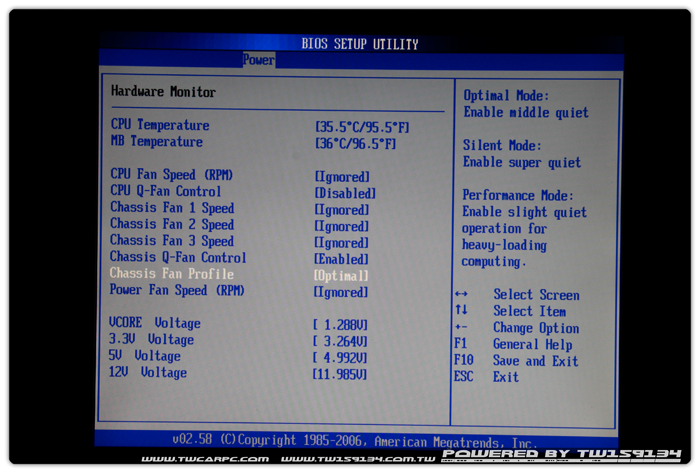
硬体监控页面
工具页面
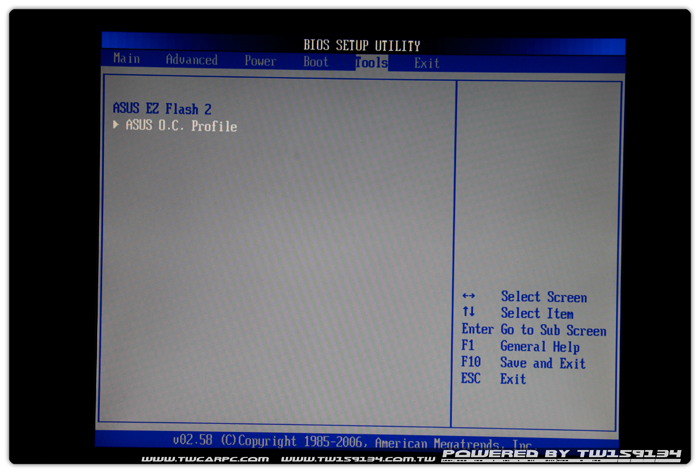
O.C. Profile 能够让使用者便利地储存或载入 BIOS 的多重设定
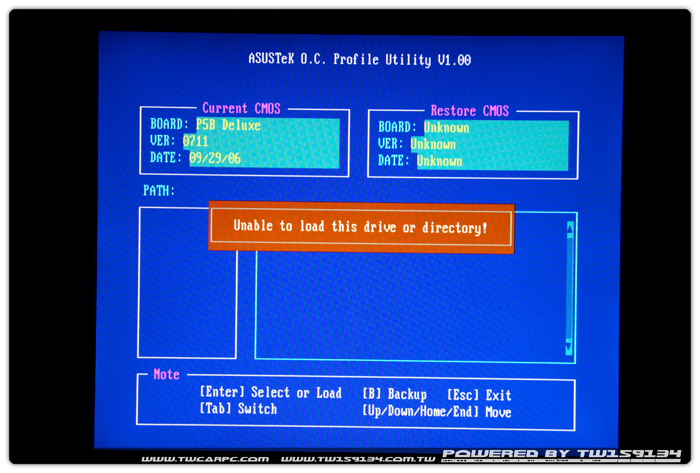
设定档能被储存在 CMOS 或个别档案
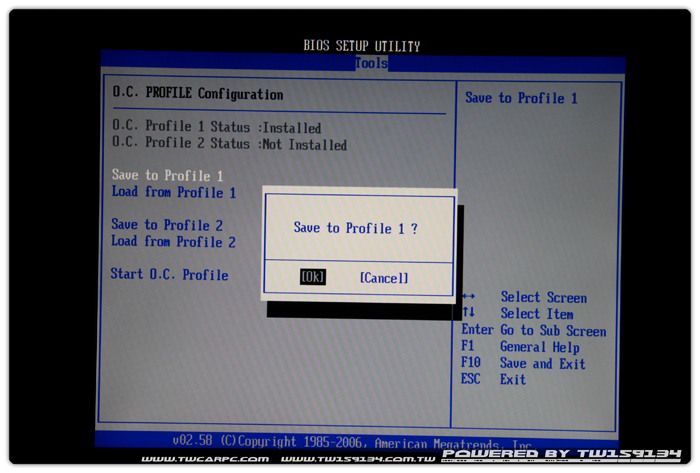
可以储存于CMOS以外的地方
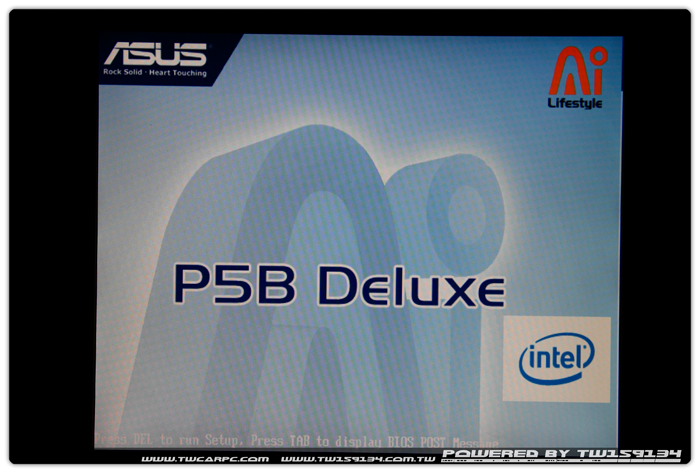
开机图片还蛮清爽的
关闭开机图片
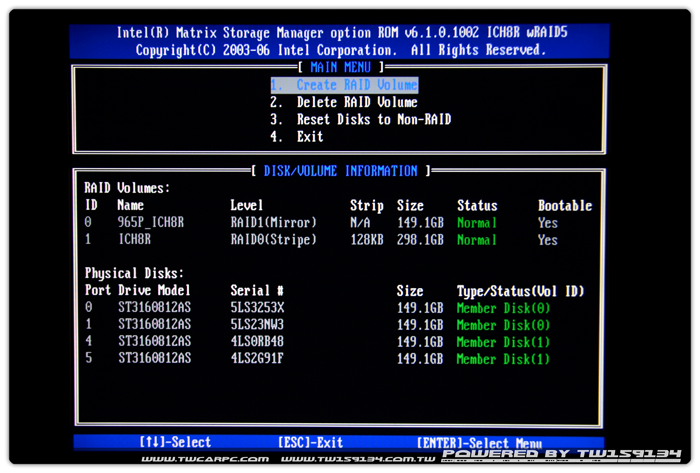
ICHR8 RAID设定画面
看完了介绍 就来看看测试巴!
测试平台
CPU:INTEL Core2 Duo E6300
MB:ASUS P5B Deluxe
DRAM:DDRII 667 512MB x2
VGA:Nvidia QuadroFX 3400
HD:Seagate ST316081AS
POWER:ZIPPY 600W
Cooler:Sonic Tower
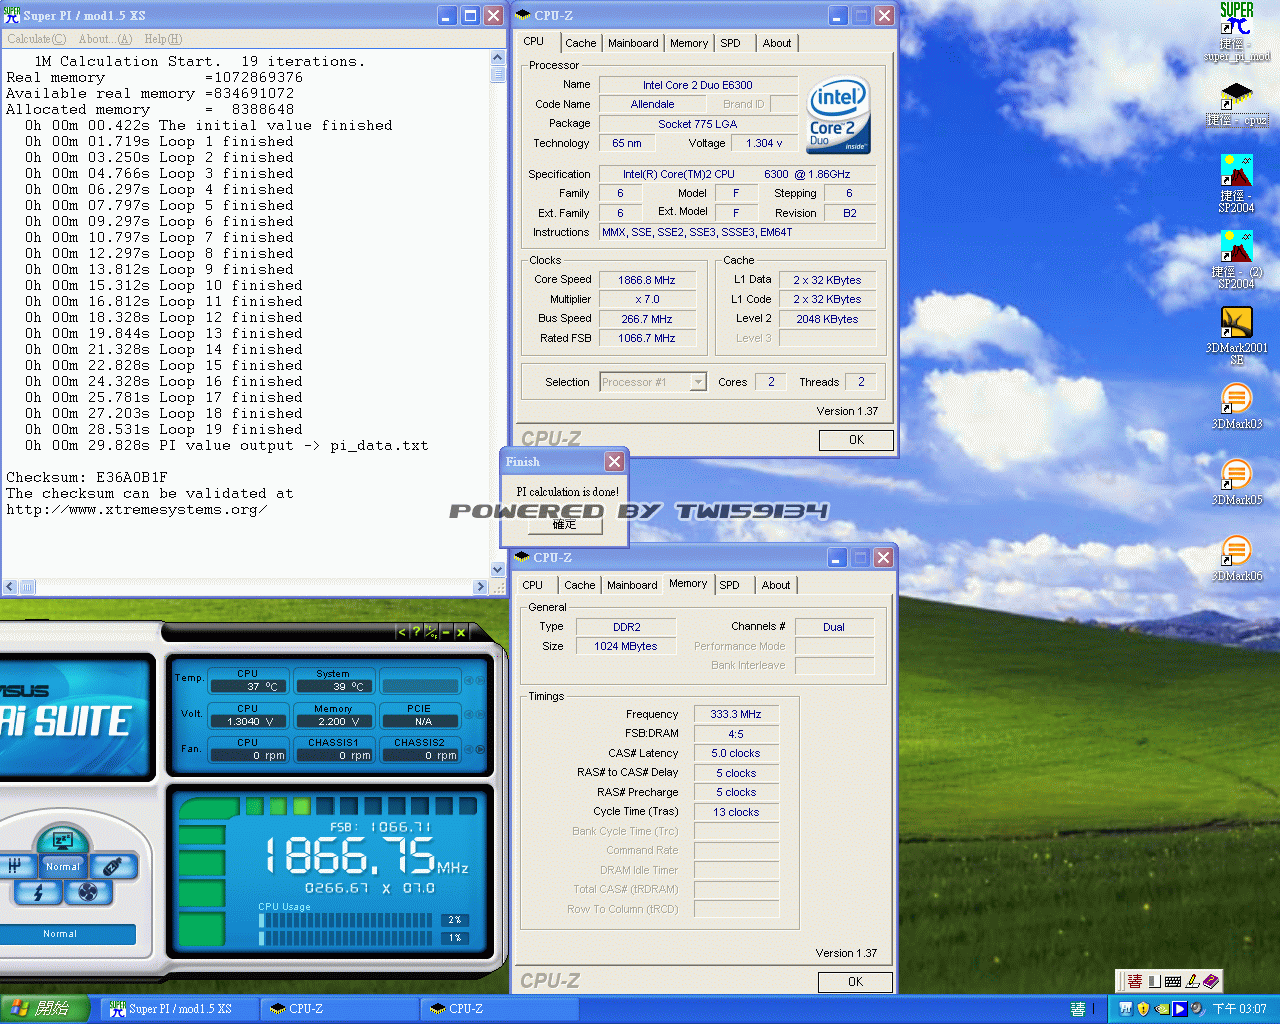
全部Auto预设值 Super pi mod 1M 为29.828s
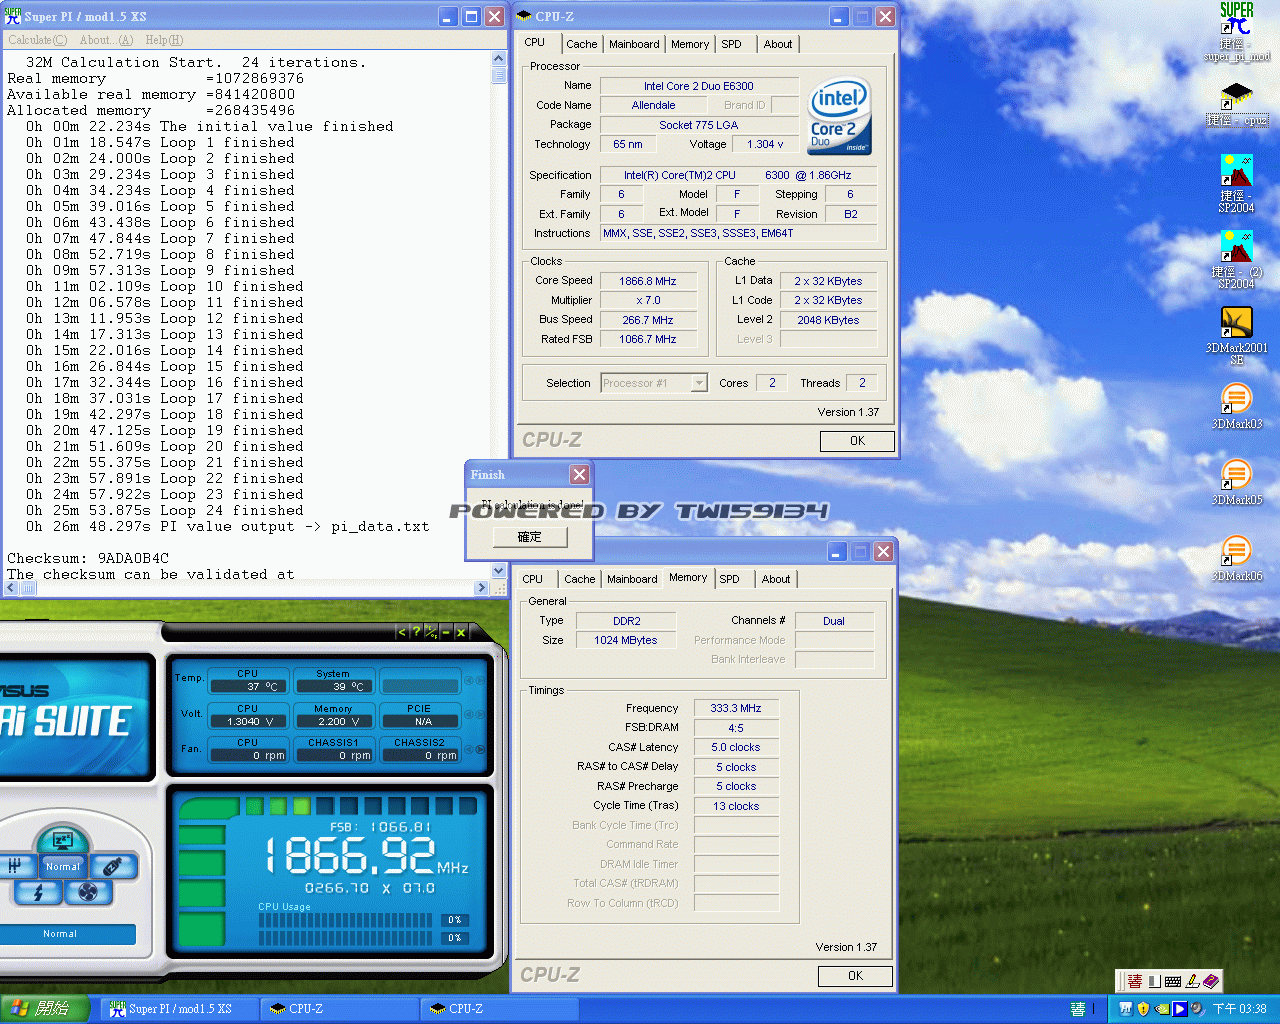
全部Auto预设值 Super pi mod 32M 为26m 48.297s
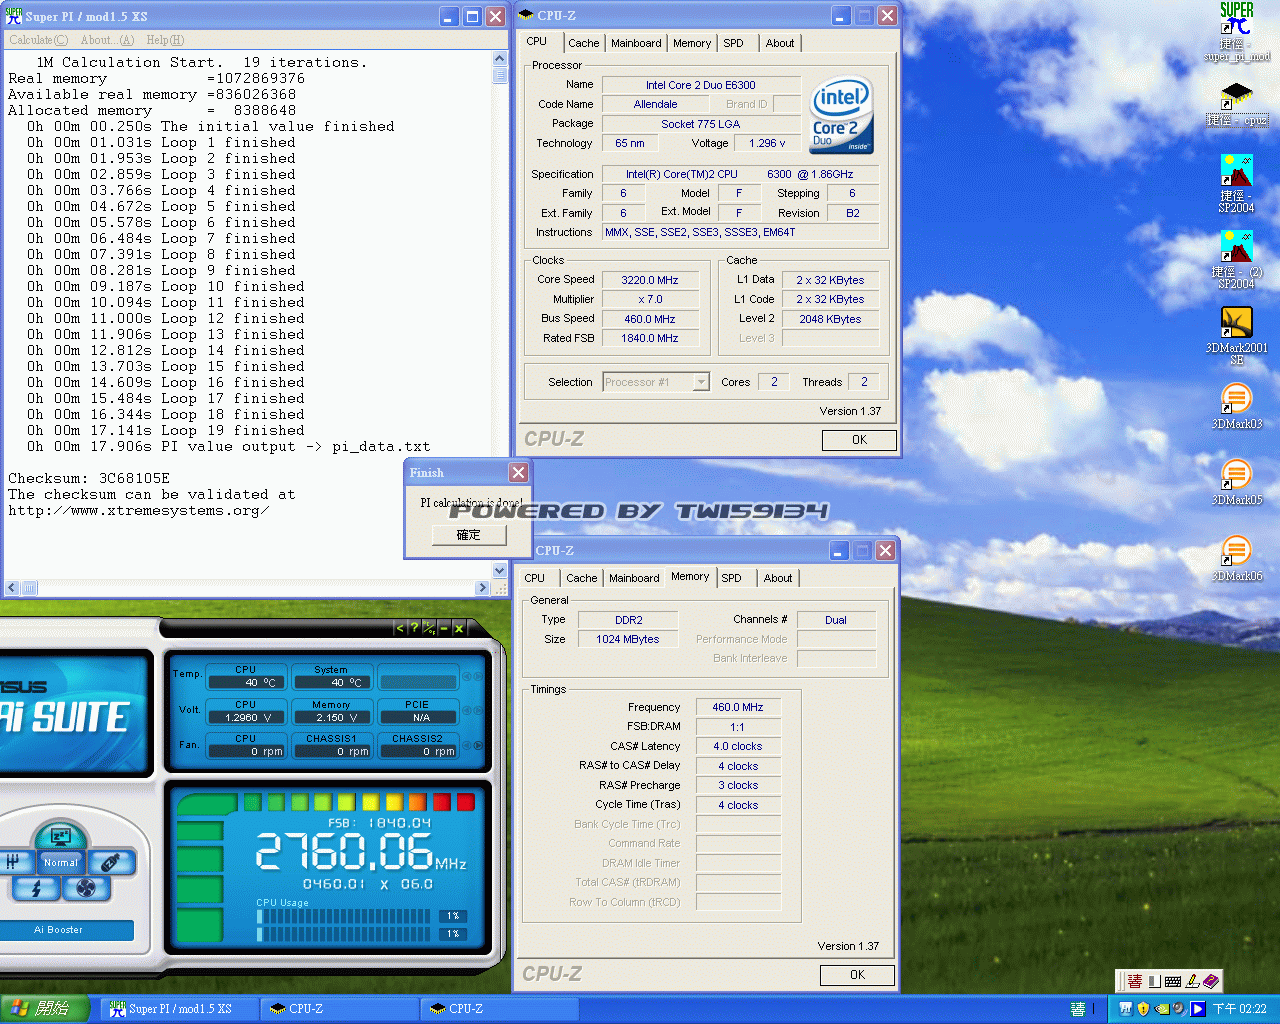
超频460x7 Super pi mod 1M 为17.906s
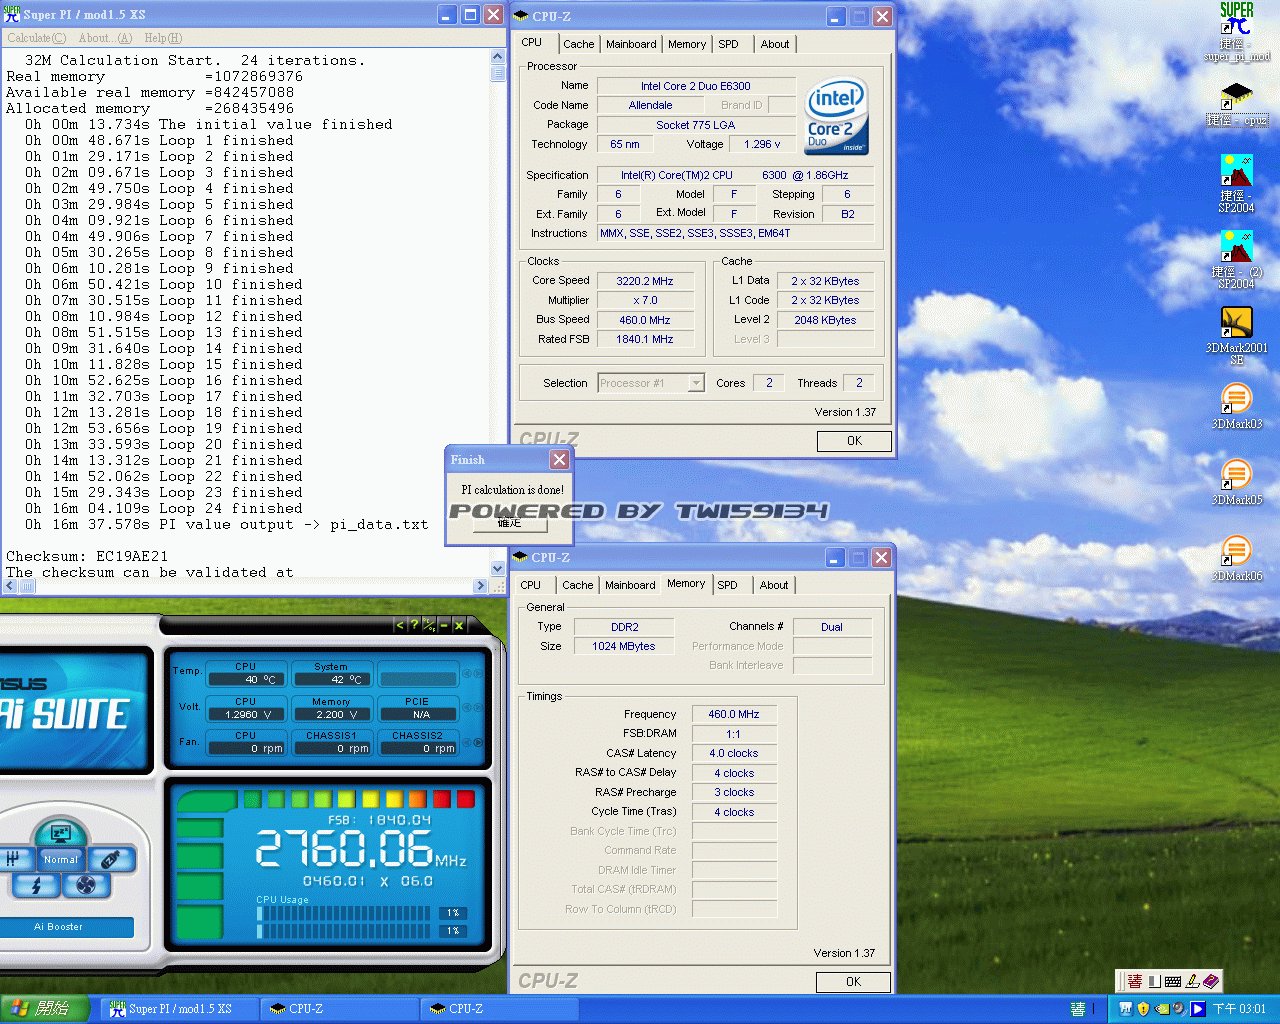
超频460x7 Super pi mod 32M 为16m 37.578s
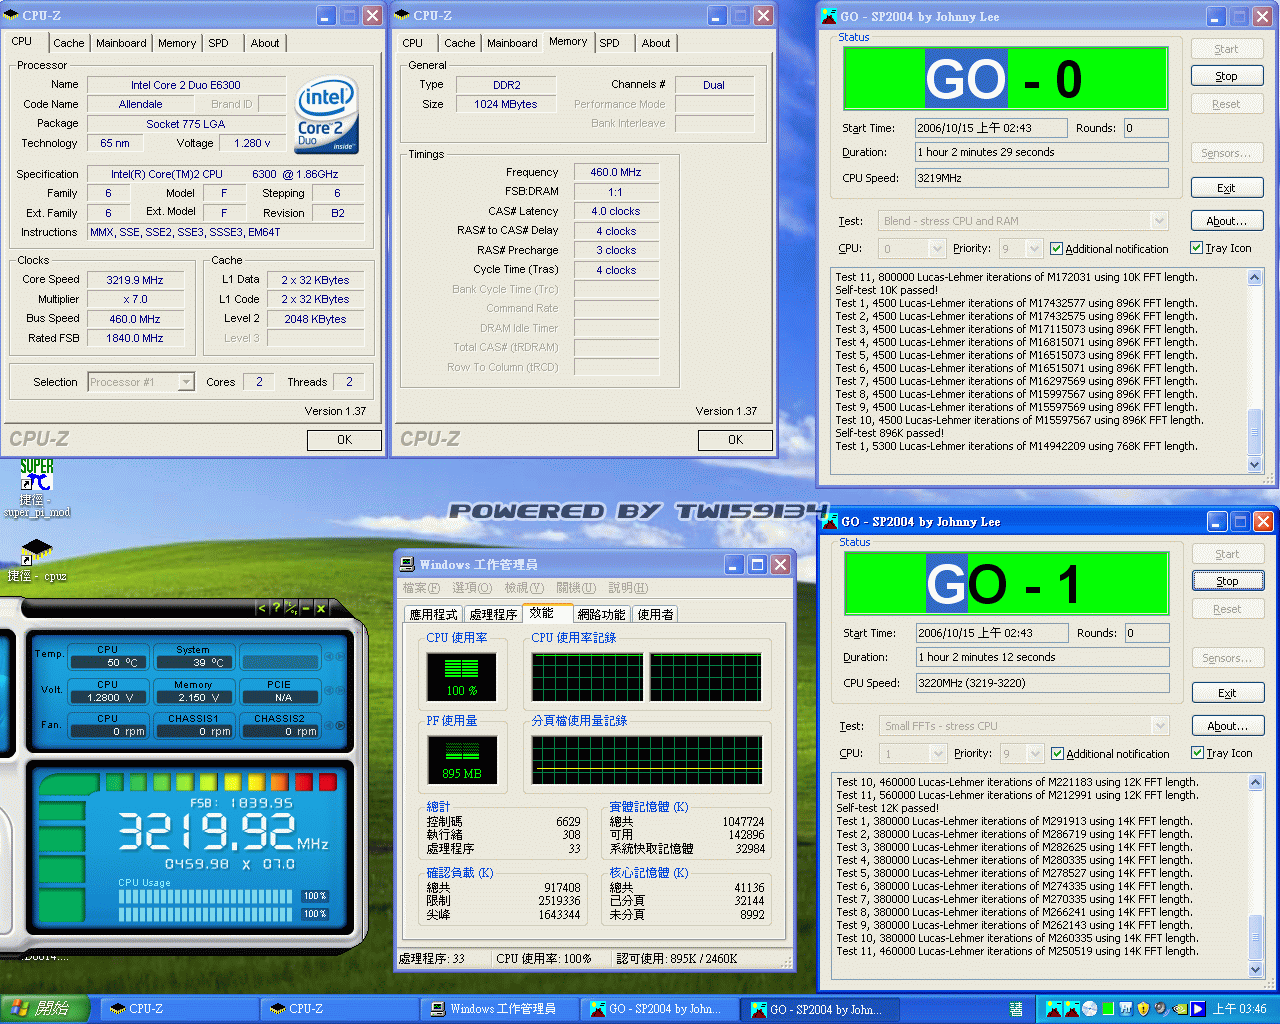
超频后跑SP2004测试稳定性 可看到CPU温度为50度
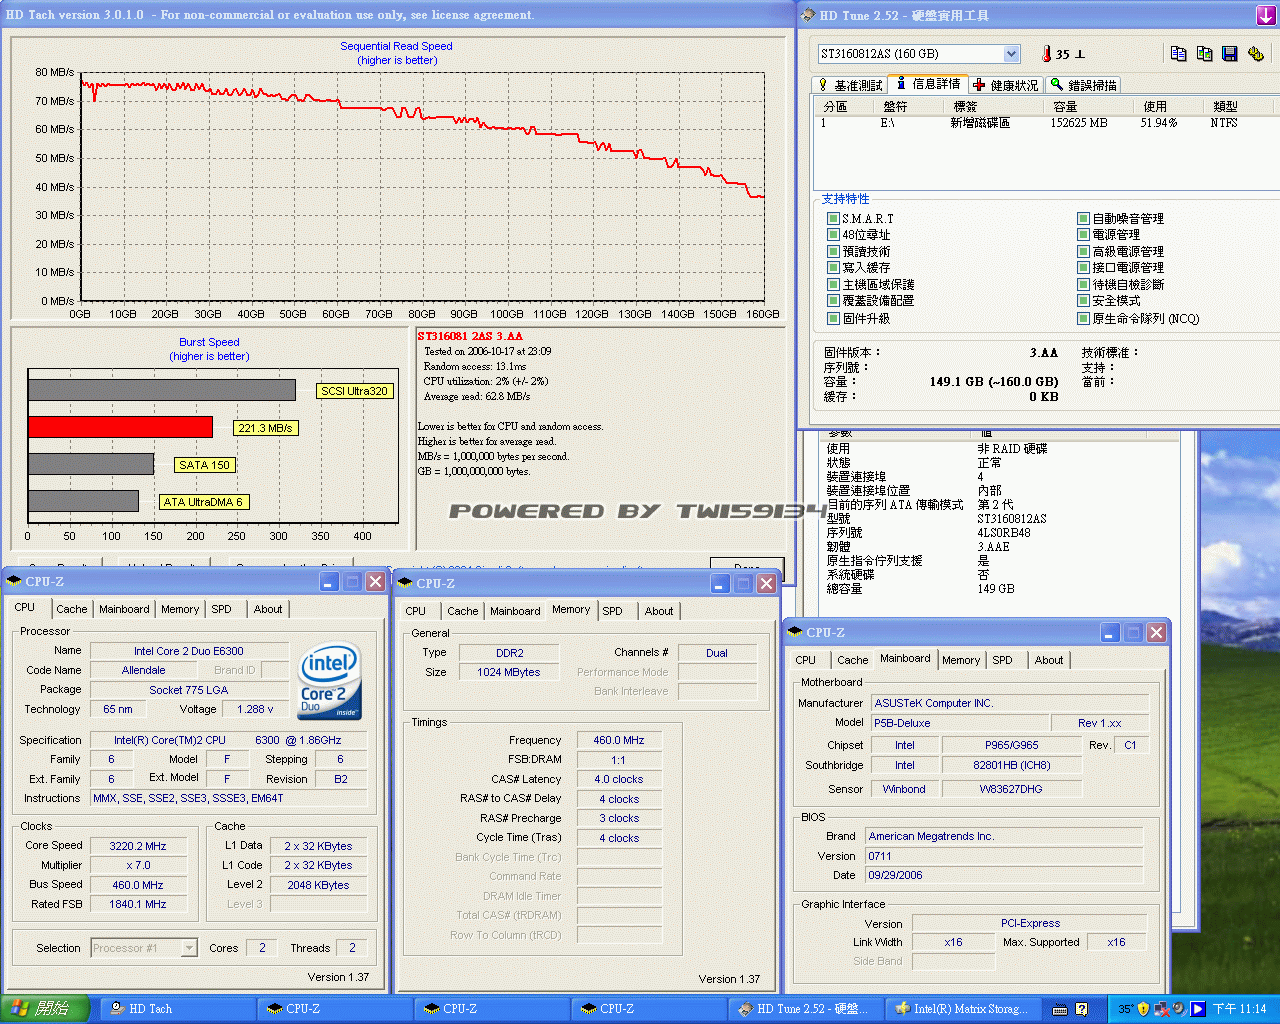
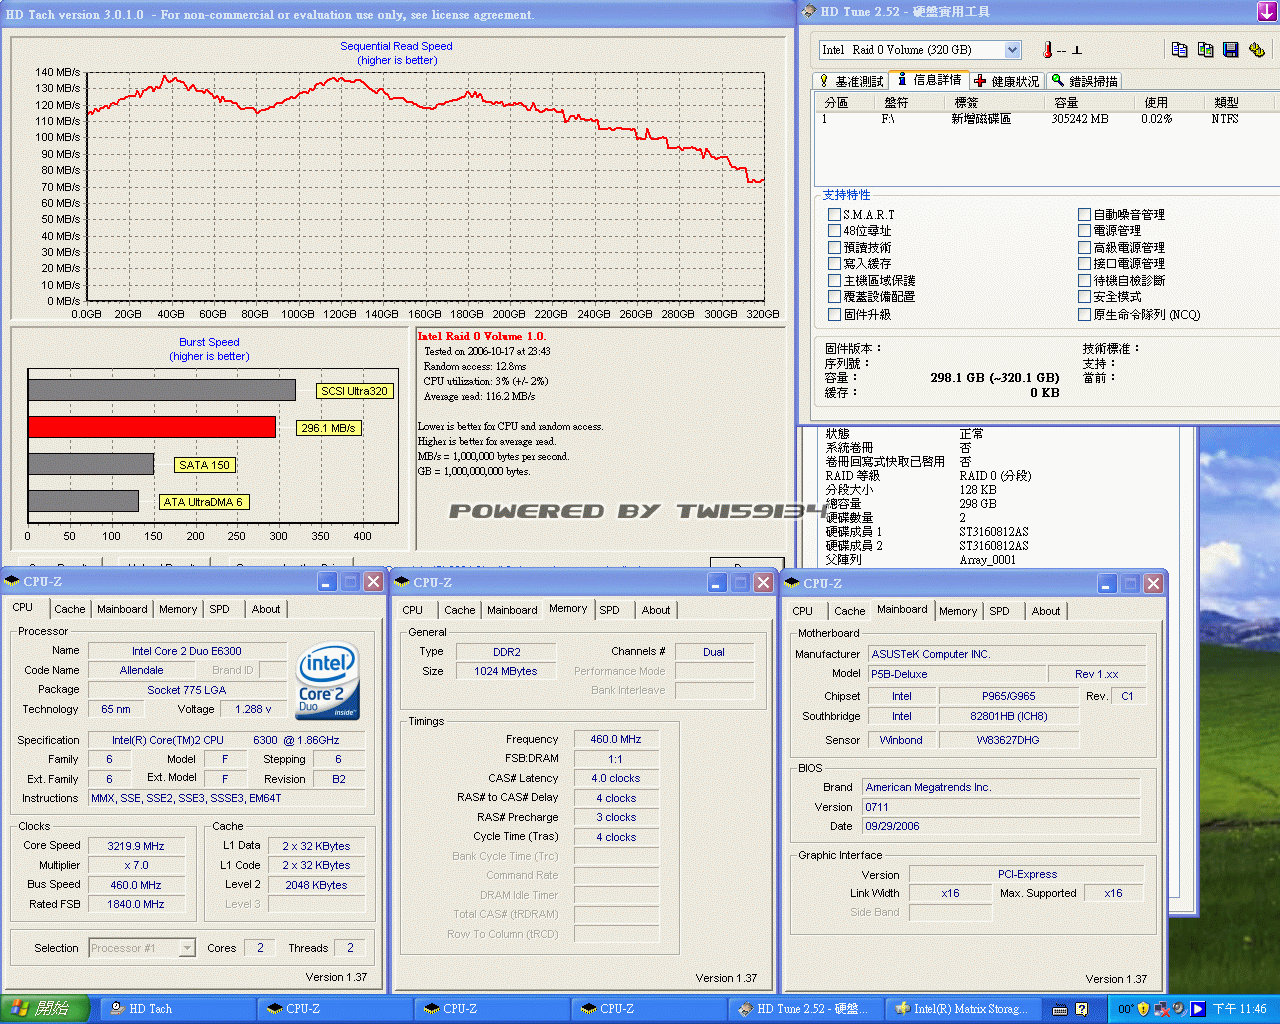
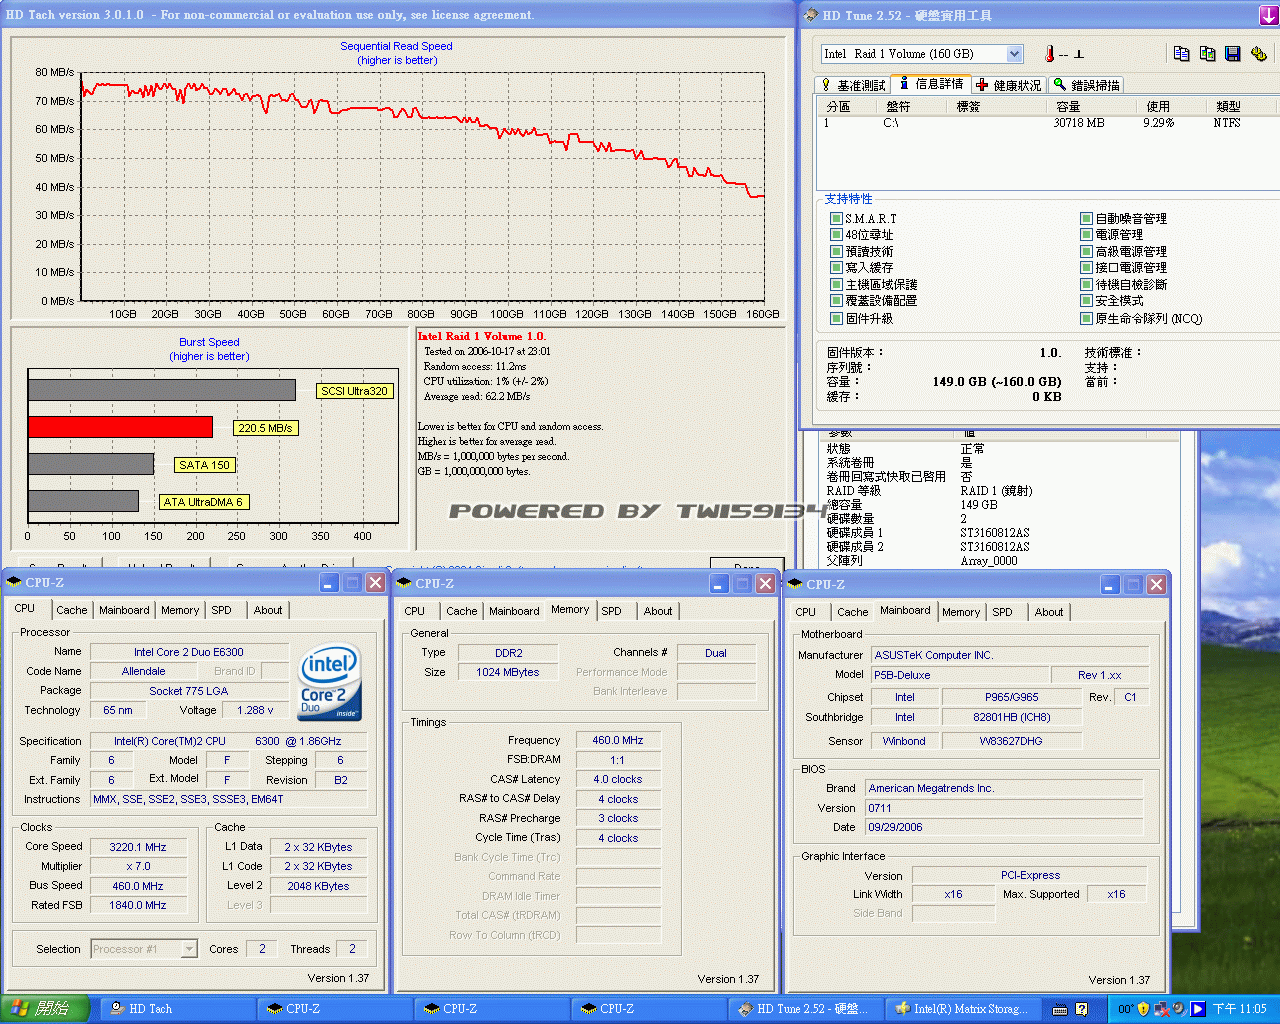
测试一下南桥晶片的效能如何
单颗Seagate ST316081AS
两颗Seagate ST316081AS RAID0
两颗Seagate ST316081AS RAID1
每次的新旧交替 你对电脑有感情吗?
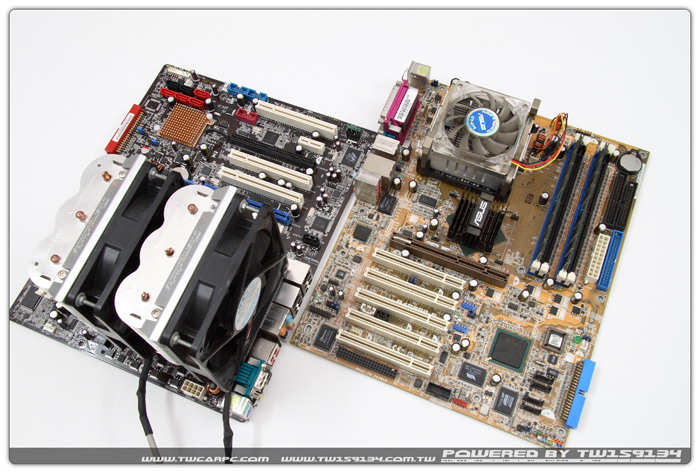
排除掉965P晶片组效能限制 与不能够达到SLI该有的效能
其他都相当令人满意 硬要说缺点
主机板上并没有Power SW 与 Reset SW 裸测时较不方便
感谢您观看文章 您的加分与回覆是我发文的原动力!!
敬请期待 Nvidia QuadroFX 3400配控肉饭 测试文章


