台客兄
   

|
分享:


 x2
x2
|
美國大廠Corsair近幾年來積極的在Case的產品線上推出新產品
但往往價格都不是非常清親民,幾個月前推出了400R Gaming Case
在市場上的價格終於比較能負擔,近期Corsair 再度推出另一款
定價比400R更便宜的Case,台客兄就來簡單的來介紹目前Corsair
最低價的Gaming Case 300R
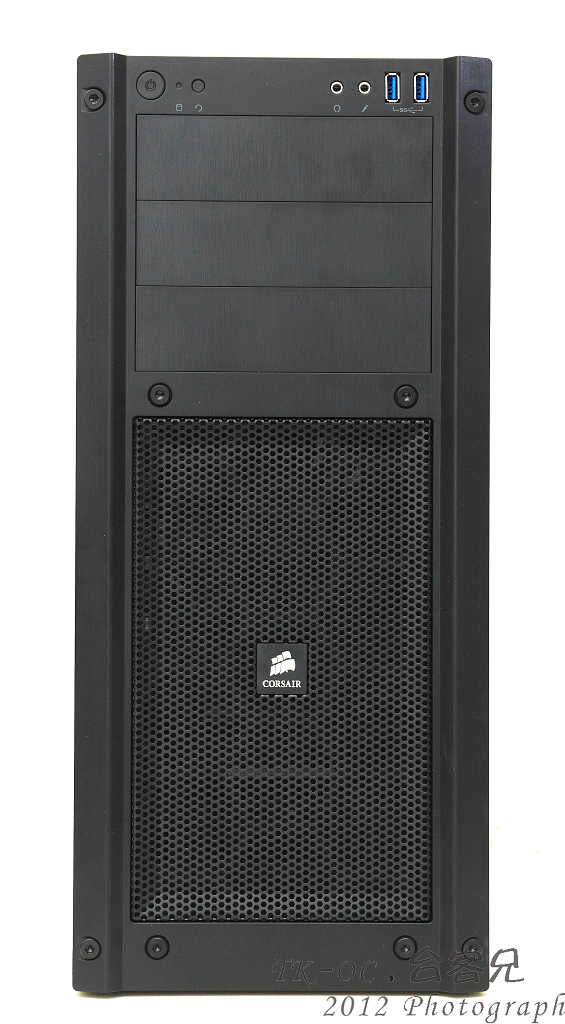
Gaming Case 300R本體
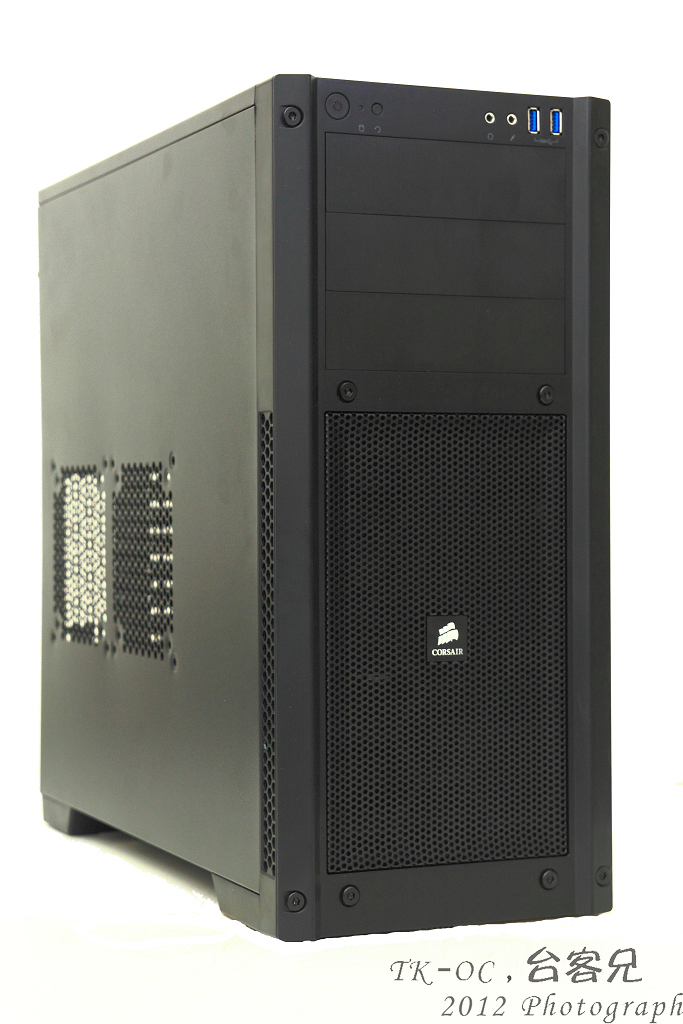
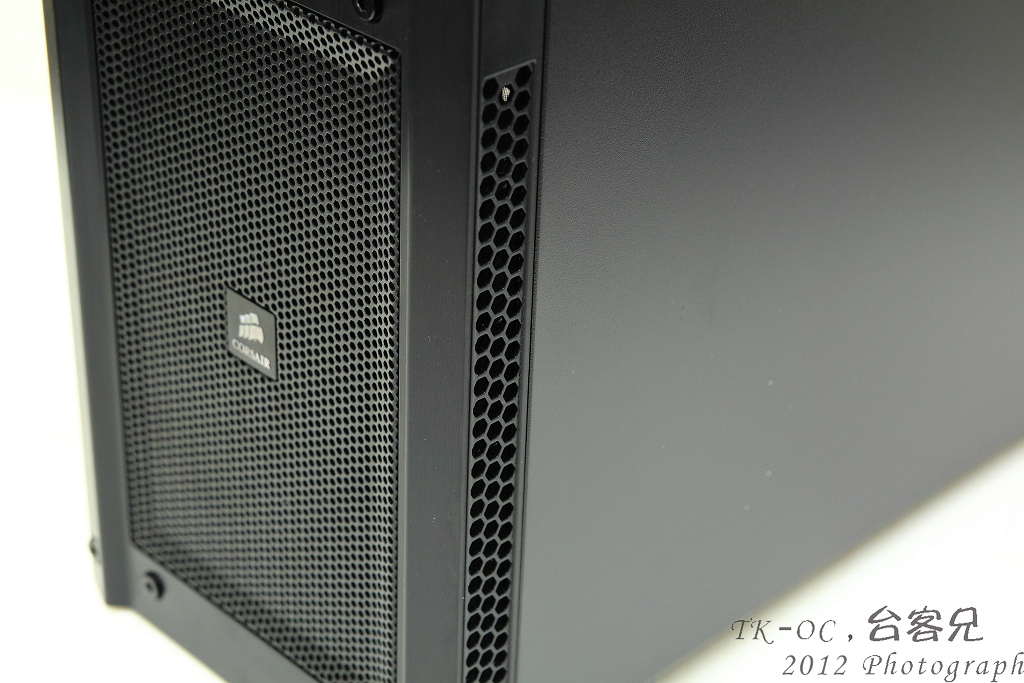
正前方設計下方是以全網狀加強冷空氣進入
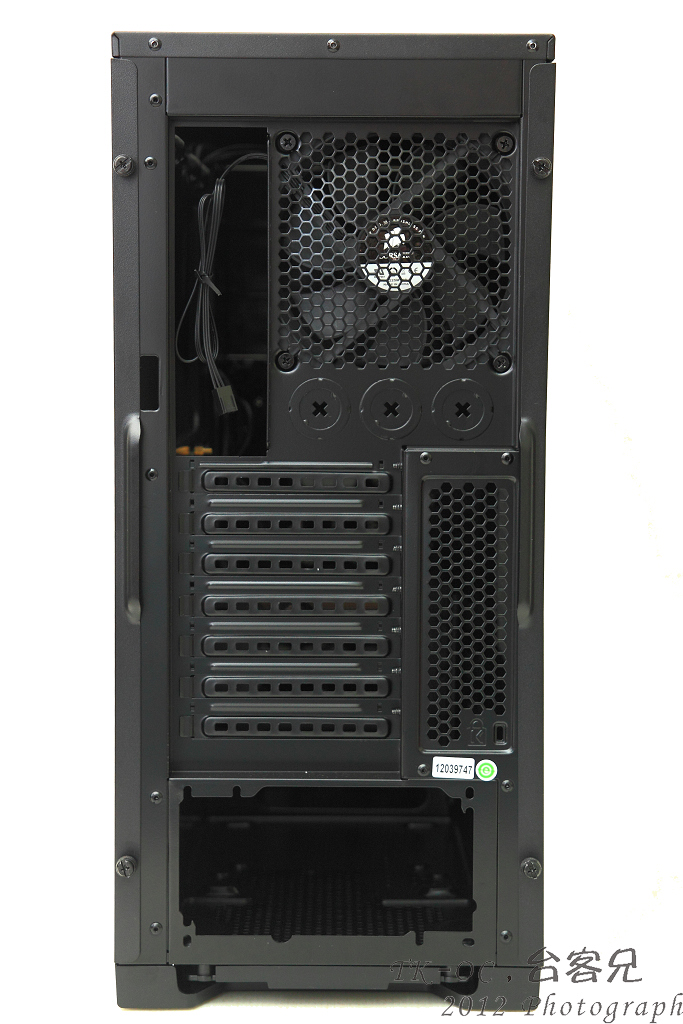
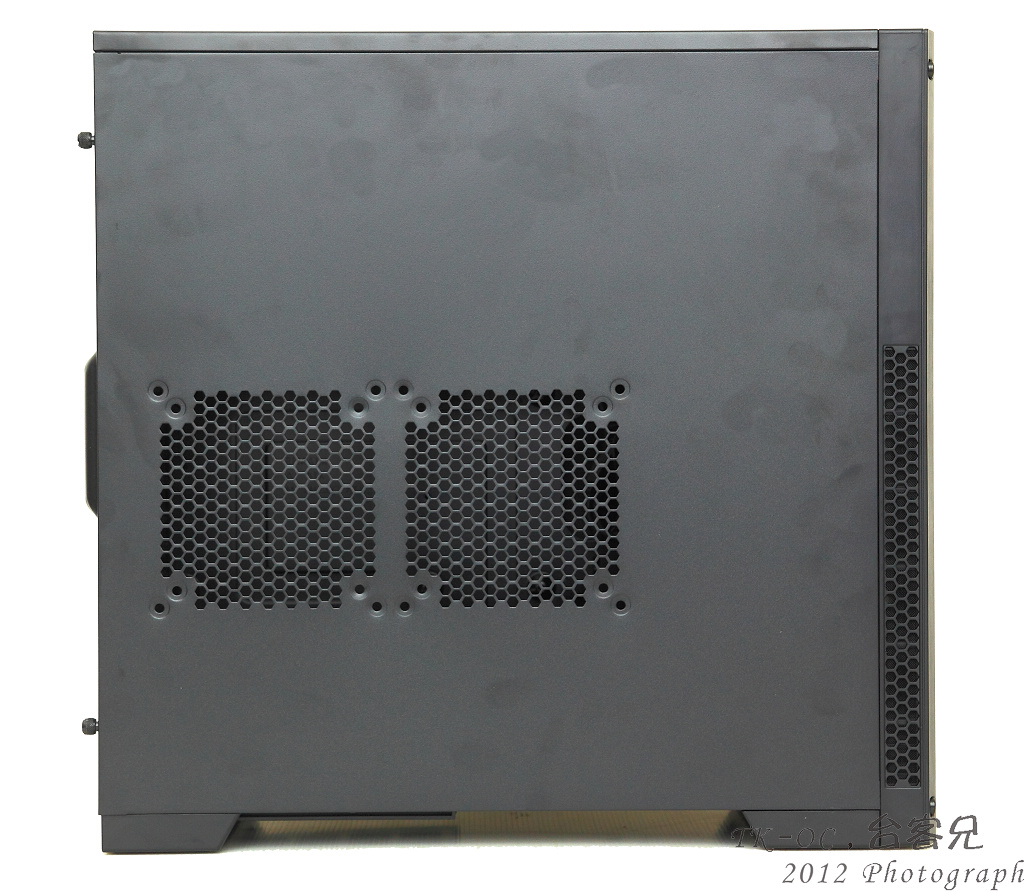
背面設計電源供應器配置也是跟的上主流採用下置式
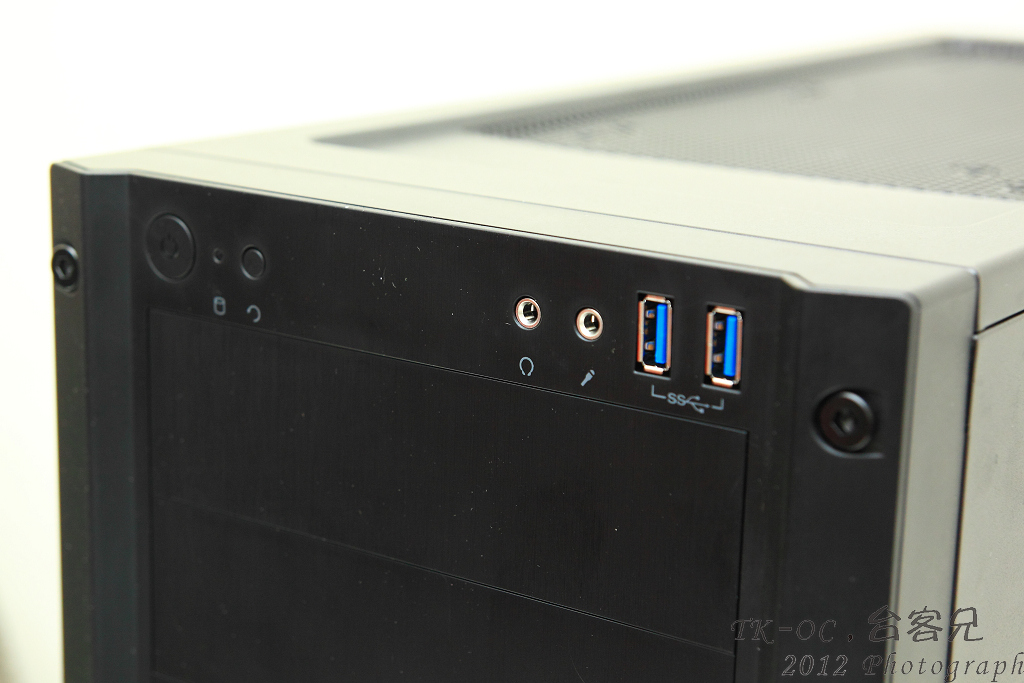
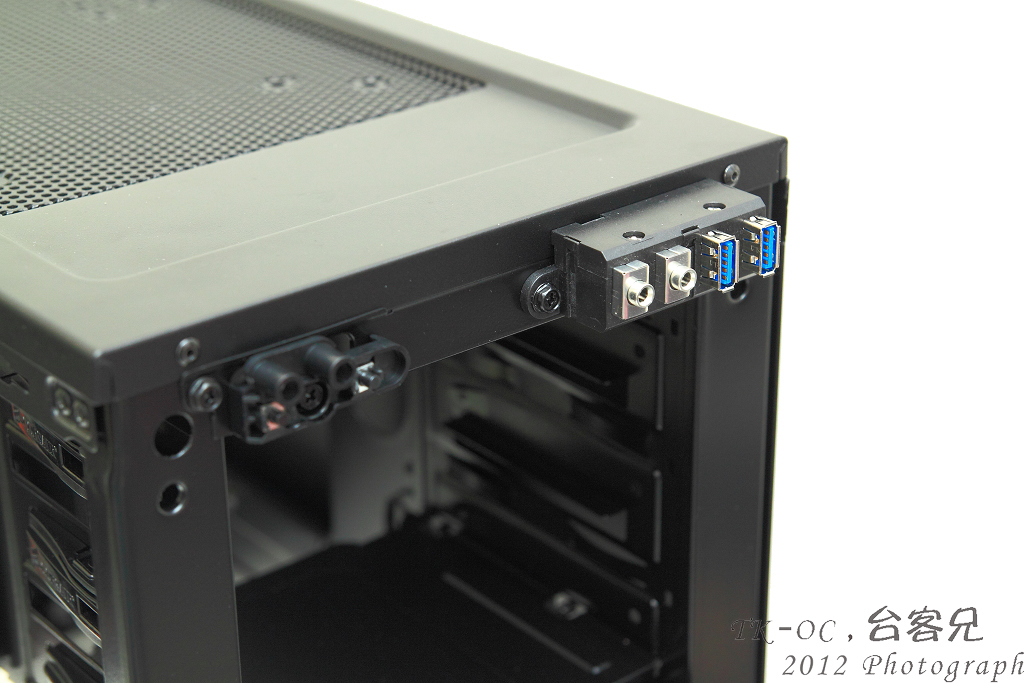
前置I/O包括Audio,2阜USB3.0設計在機殼的上方!
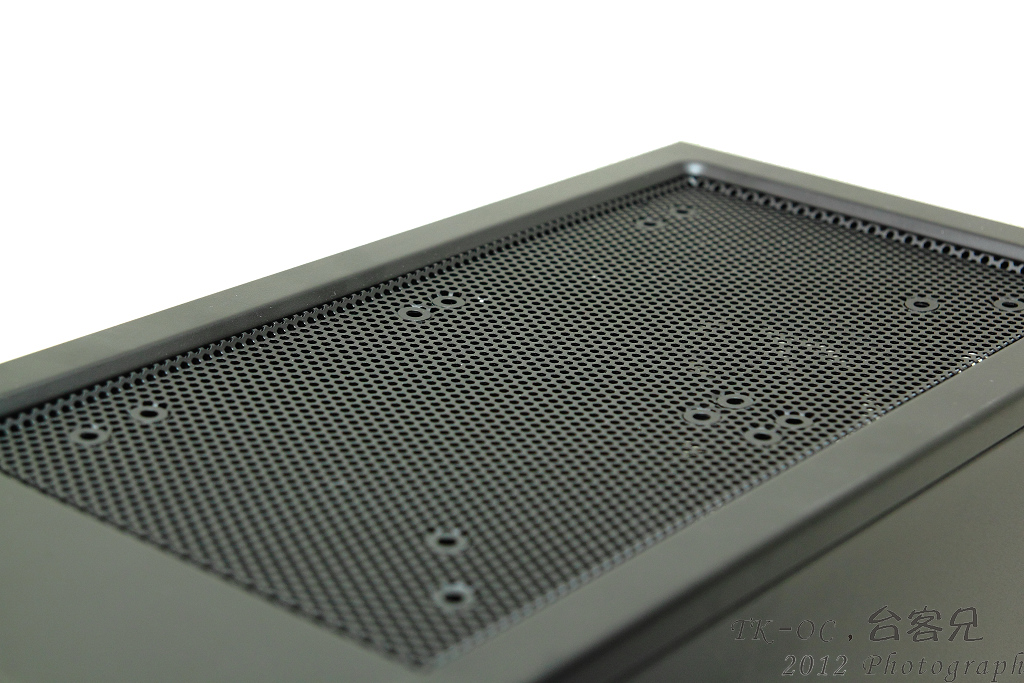
頂部可以安裝2顆120mm或是140mm的風扇,當然自家的H100也是相容
前面板側面開孔
側板可以在自行加裝2顆120mm或是140mm的風扇!
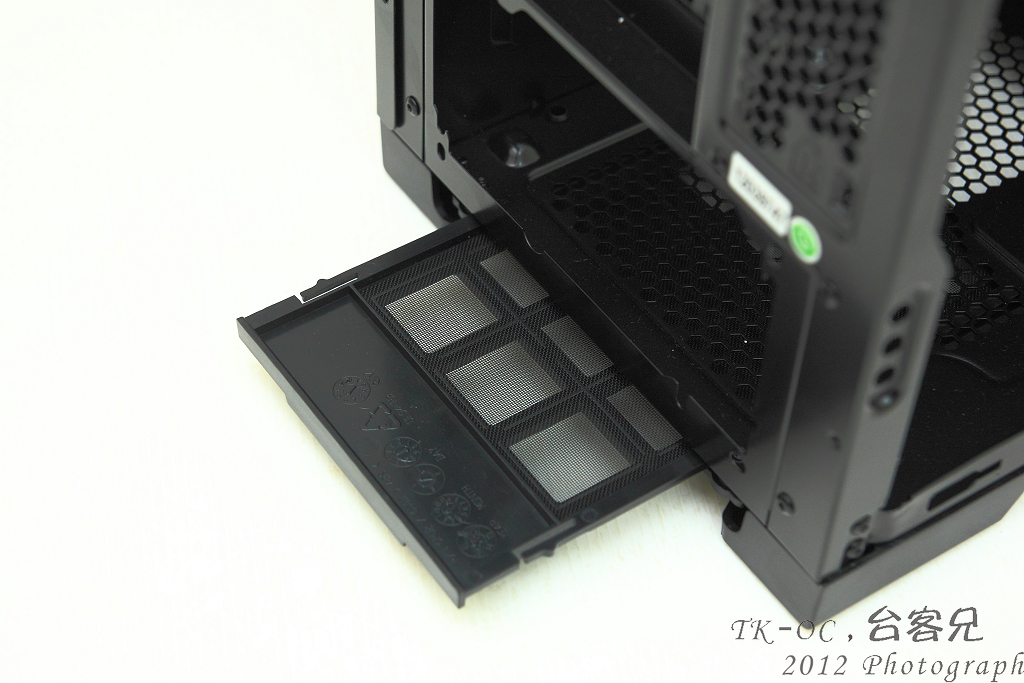
Gaming Case 300R底部
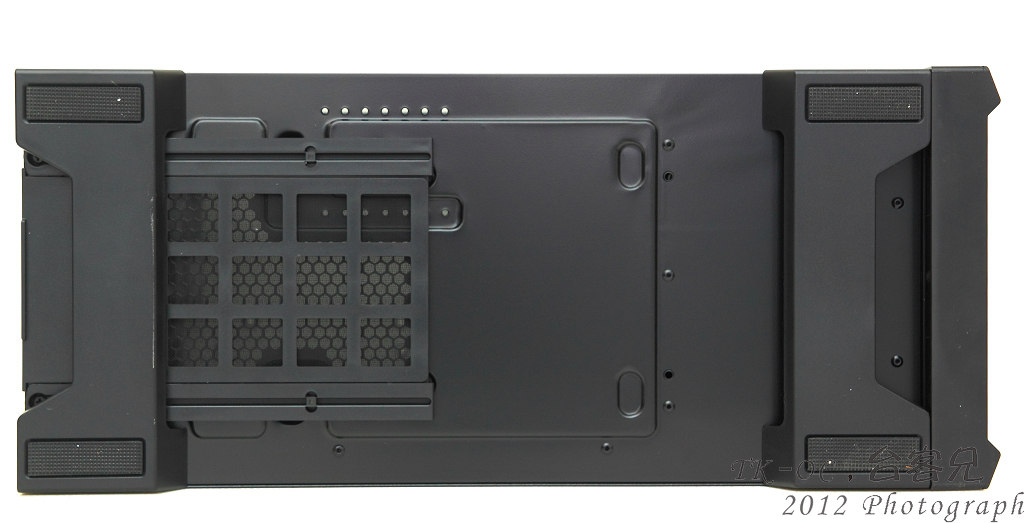
底部放置POWER的下方有可抽換式濾網
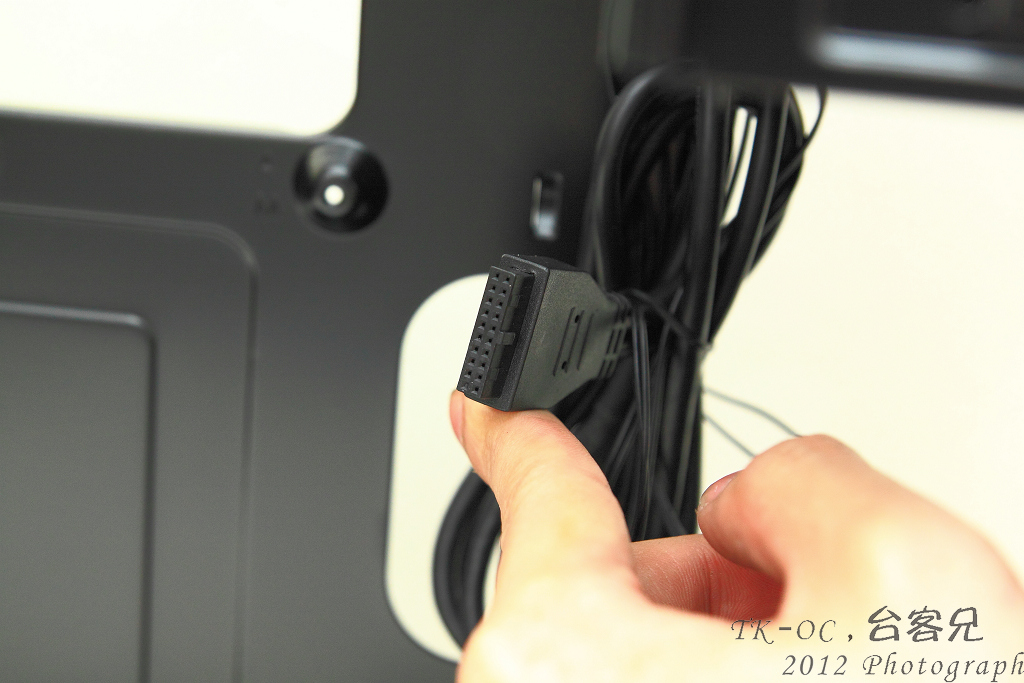
前置I/O線材是直接固定在機殼上,拆卸前面板不會拉扯到線材
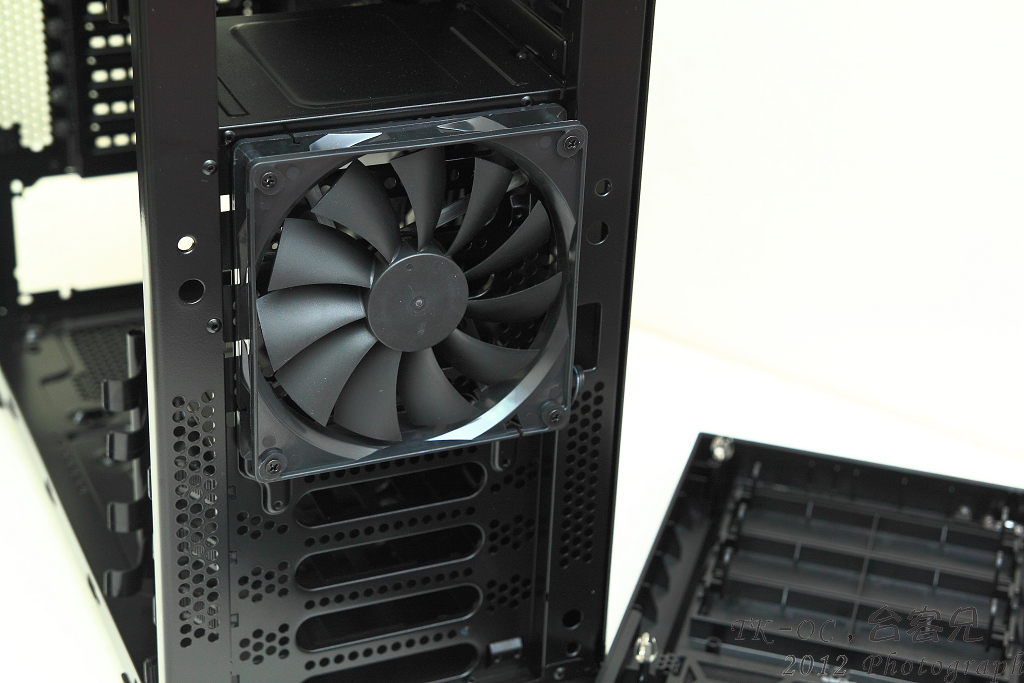
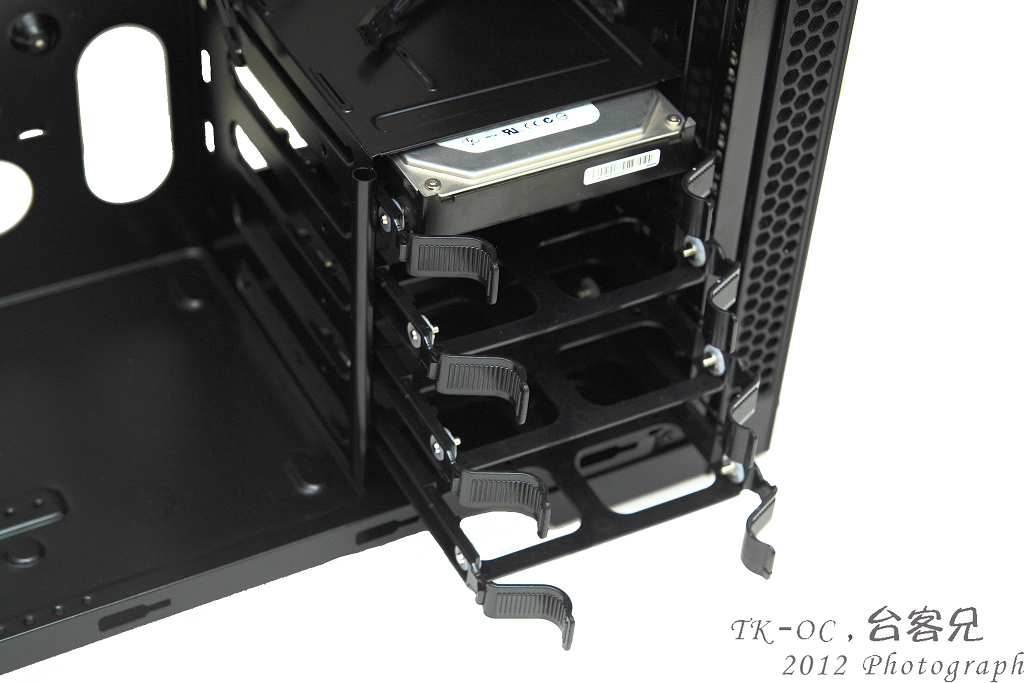
前置內原廠已附上一顆120mm風扇加強HDD區散熱
內部空間一覽
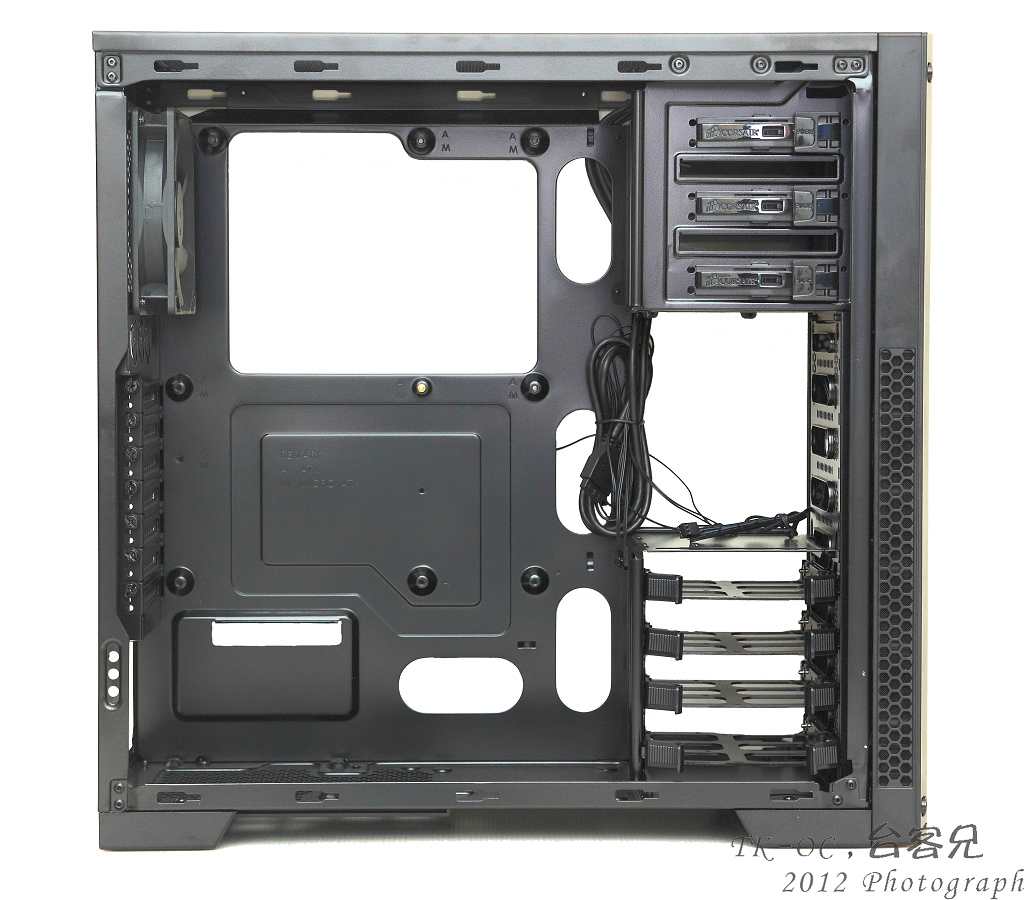
背面一覽
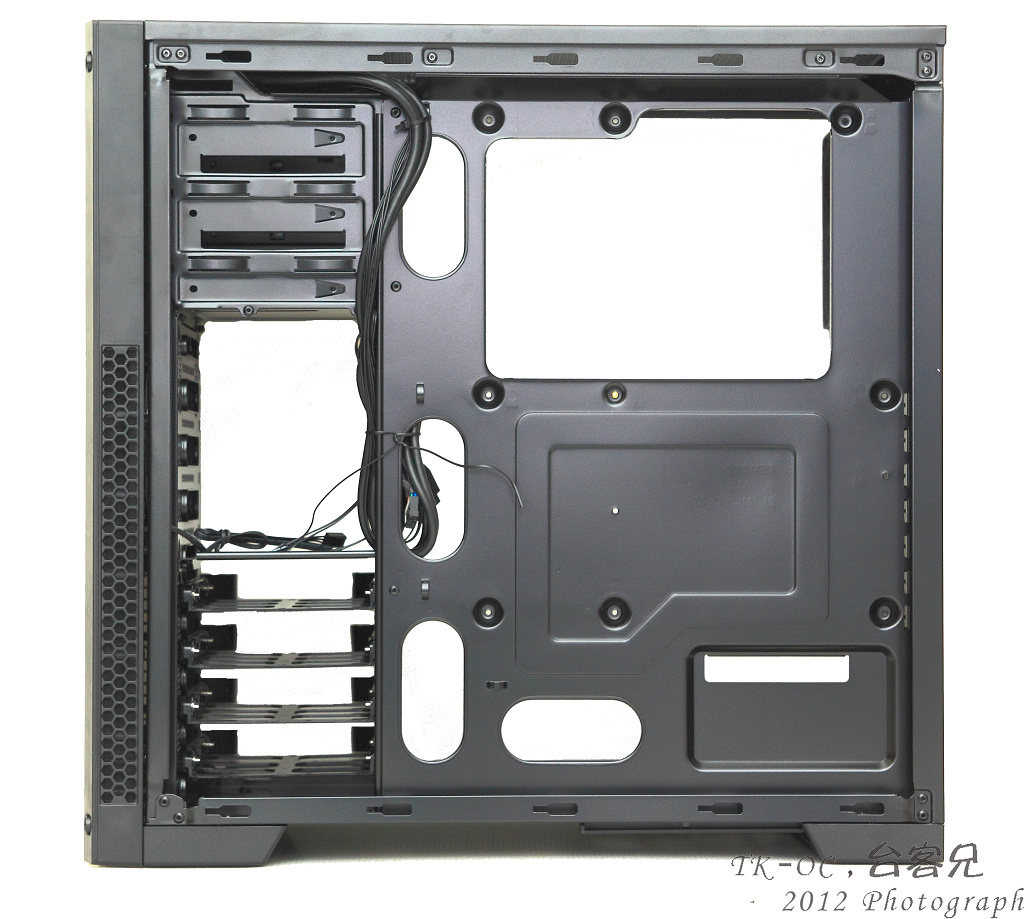
背部走線空間還算充裕
內置19Pin接頭而非延伸
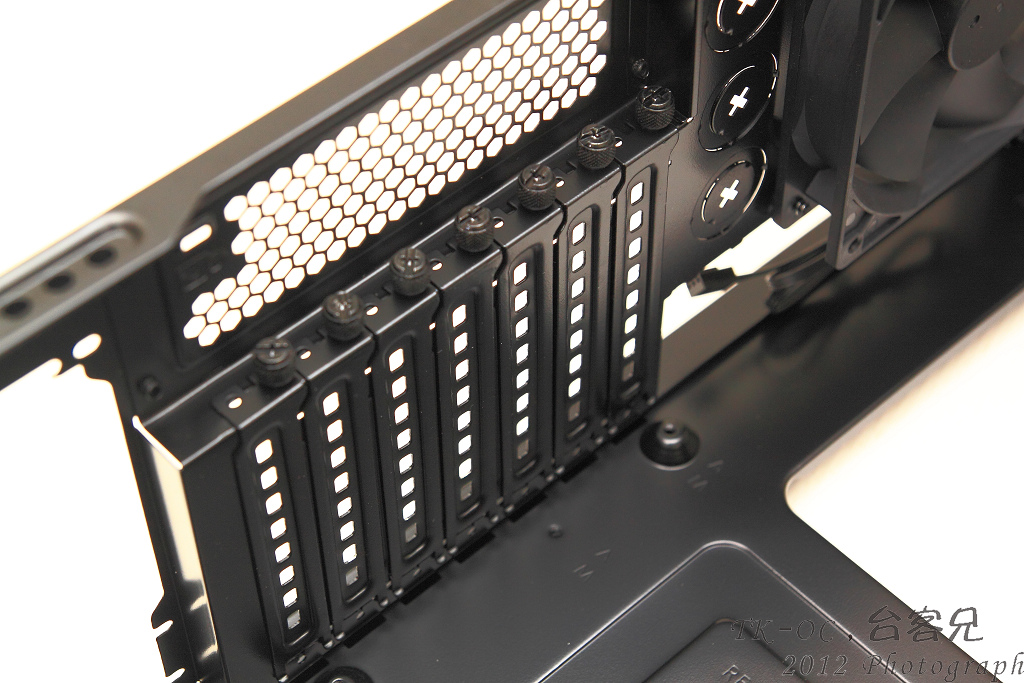
PCI檔板採用可以重覆使用的設計
所附的配件

3.5吋HDD安裝方式只需要把HDD扣入拖盤內
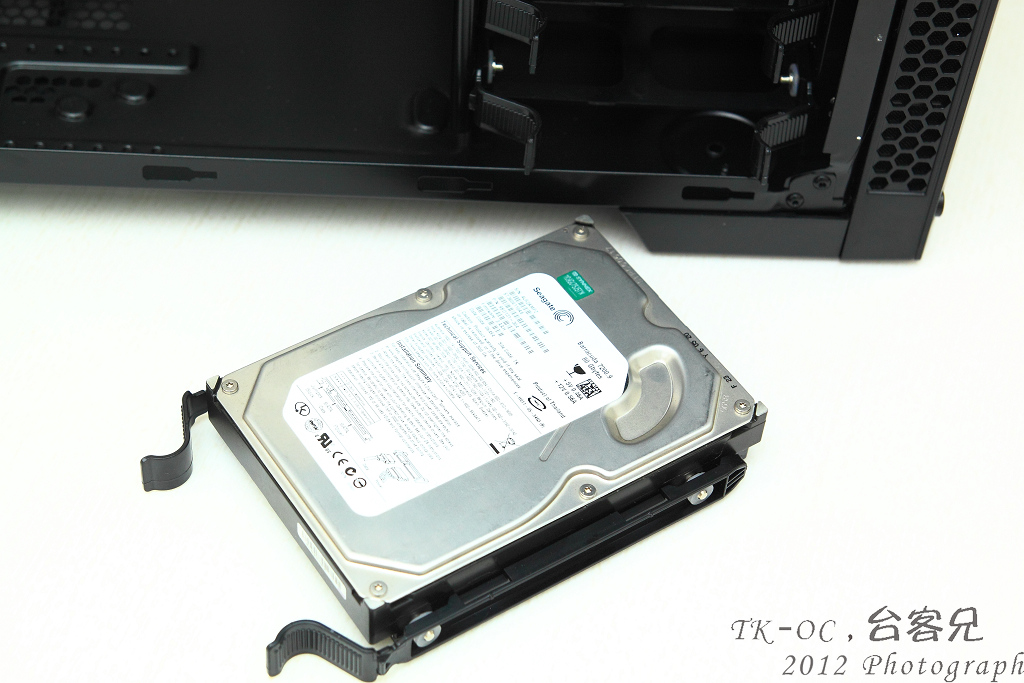
在推入置滑槽,之後聽到喀一聲就固定完成!過程均不需使用到螺絲
-------------------------------------------------------------
總結:
我最討厭分享最後的總結,簡單來說Case這種東西是很主觀的
有的喜歡這樣設計,也會有的人不喜歡!
但至少現在可以知道要入手Corsair的機殼不用再掏出更多的鈔票
可以輕鬆入手中規中矩的設計Corsair入門Gaming Case 300R
~END台客兄~
|


