台客兄
   

|
分享:


 x2
x2
|
美国大厂Corsair近几年来积极的在Case的产品线上推出新产品
但往往价格都不是非常清亲民,几个月前推出了400R Gaming Case
在市场上的价格终于比较能负担,近期Corsair 再度推出另一款
定价比400R更便宜的Case,台客兄就来简单的来介绍目前Corsair
最低价的Gaming Case 300R
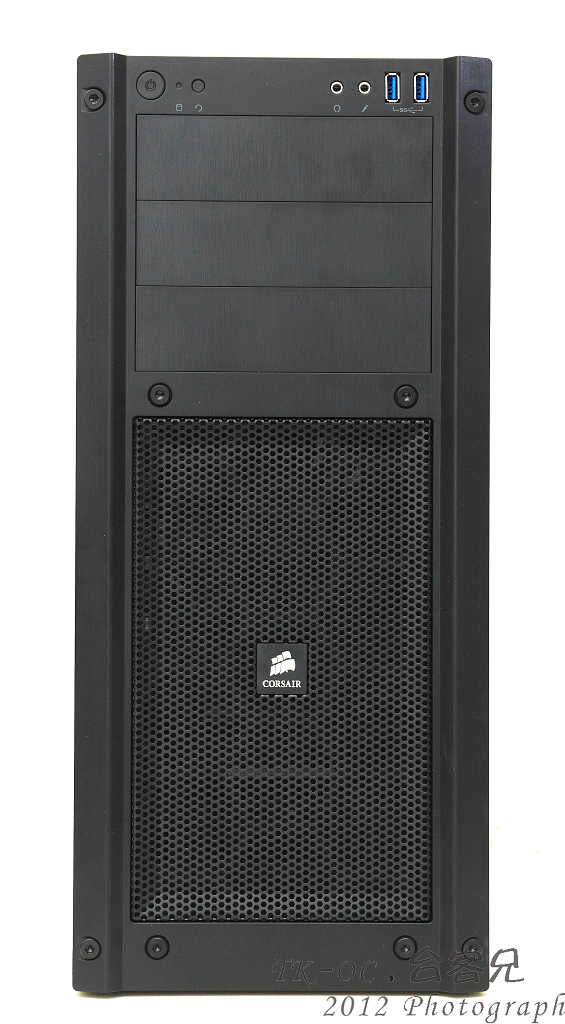
Gaming Case 300R本体
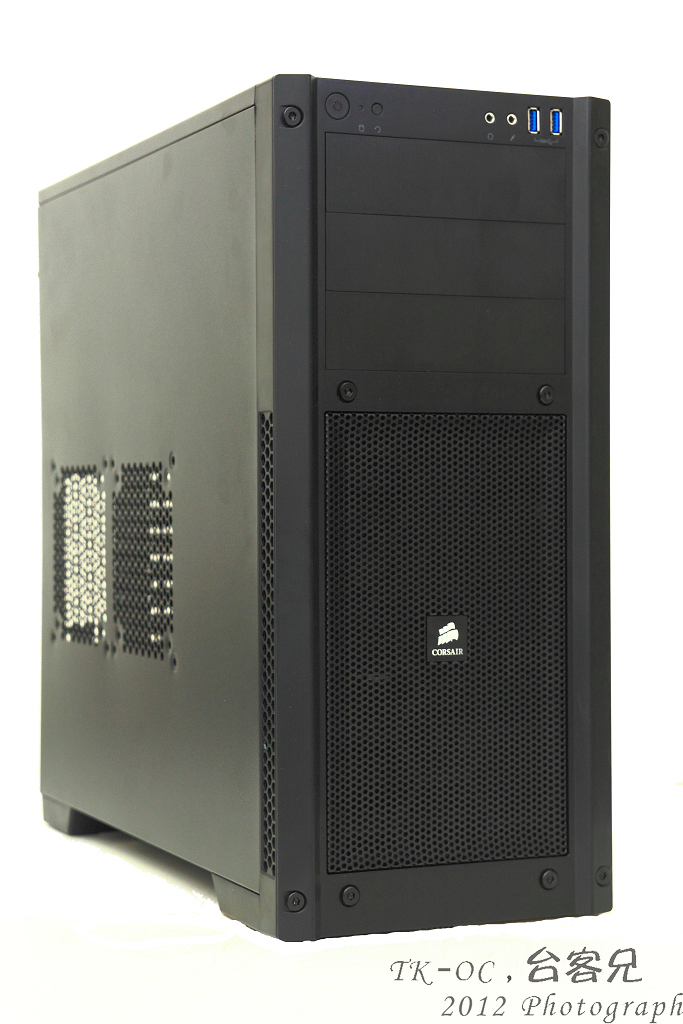
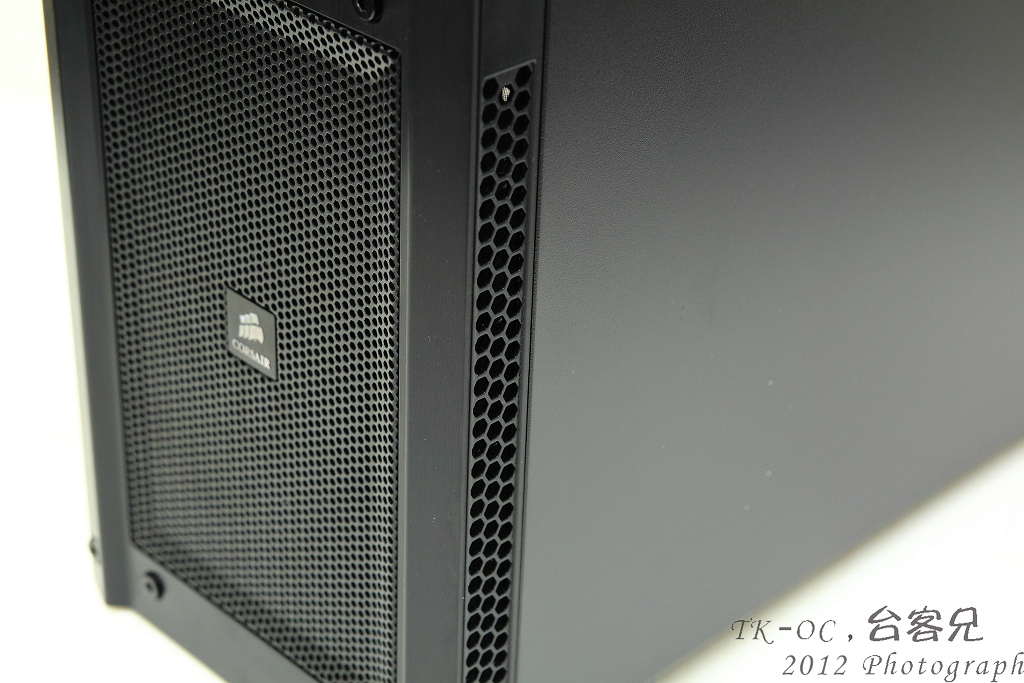
正前方设计下方是以全网状加强冷空气进入
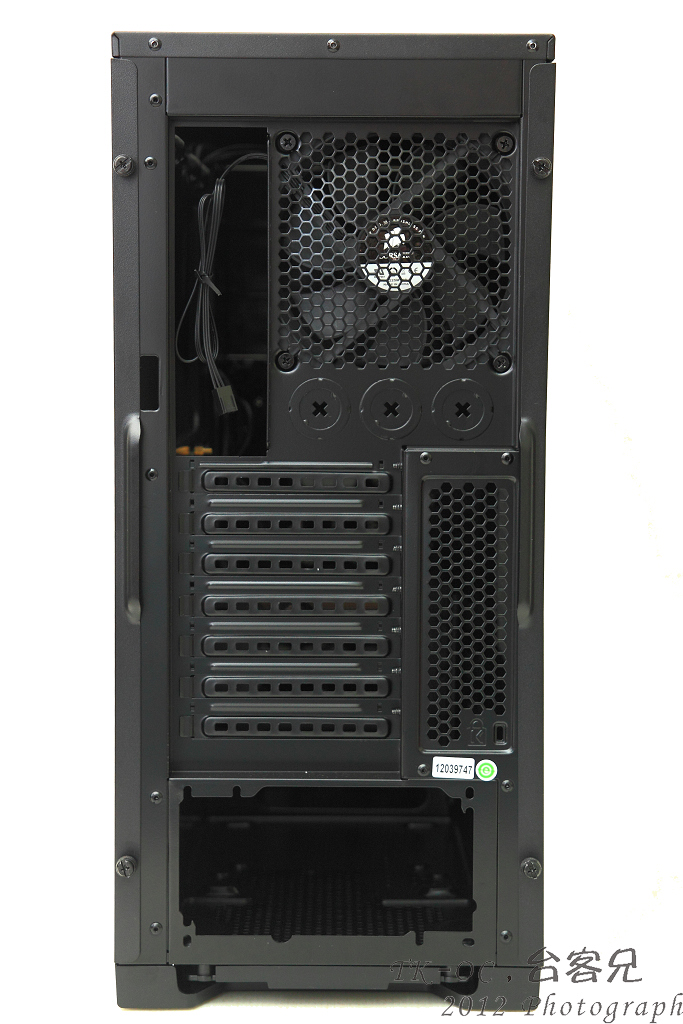
背面设计电源供应器配置也是跟的上主流采用下置式
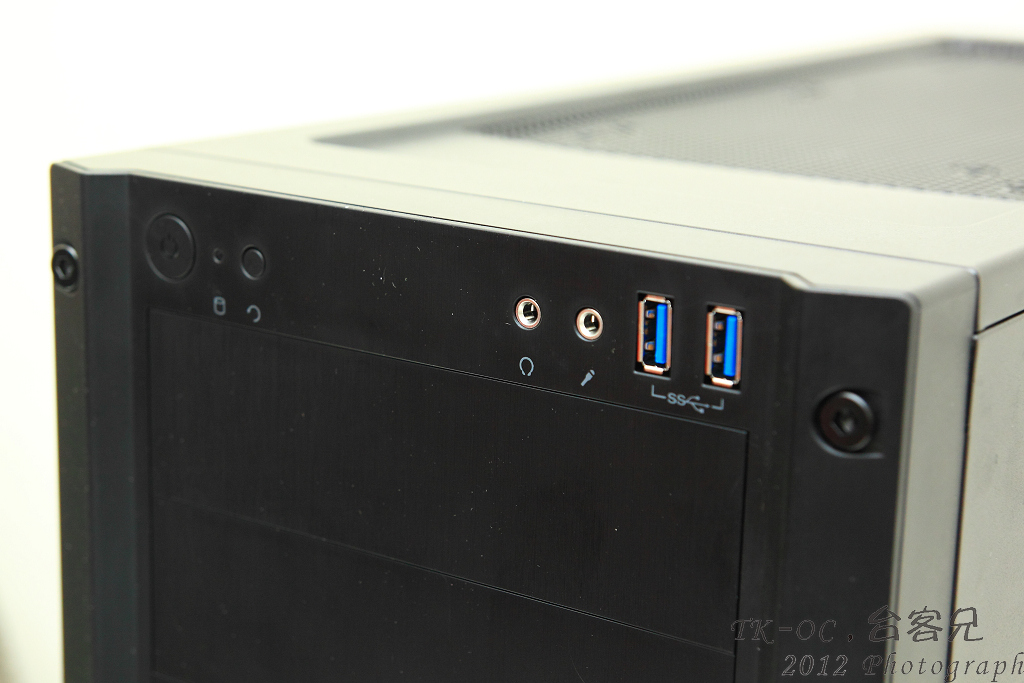
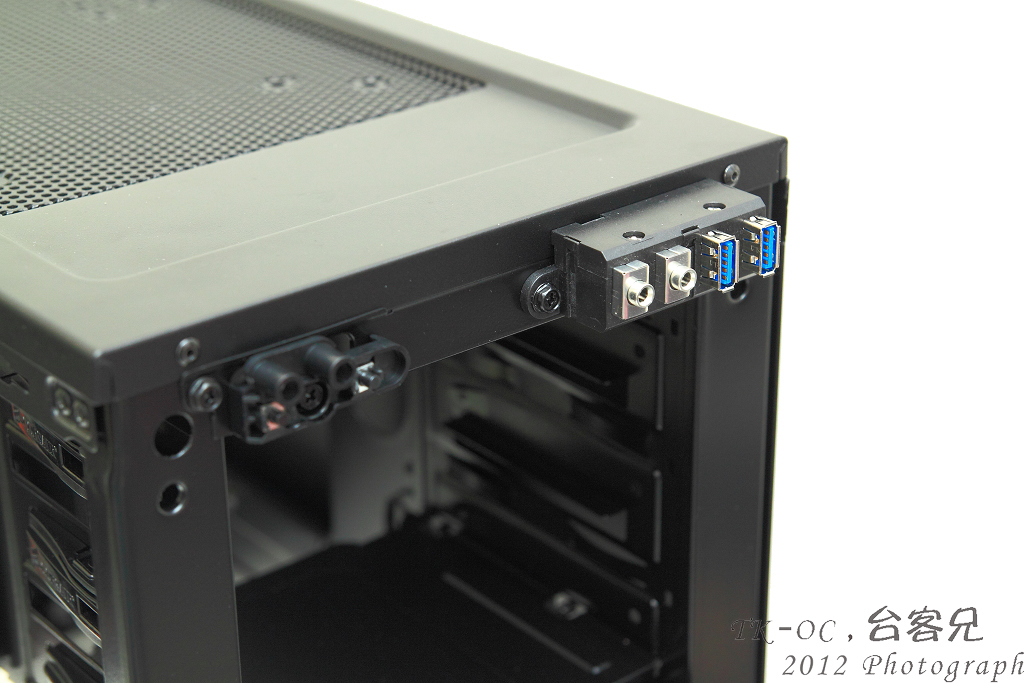
前置I/O包括Audio,2阜USB3.0设计在机壳的上方!
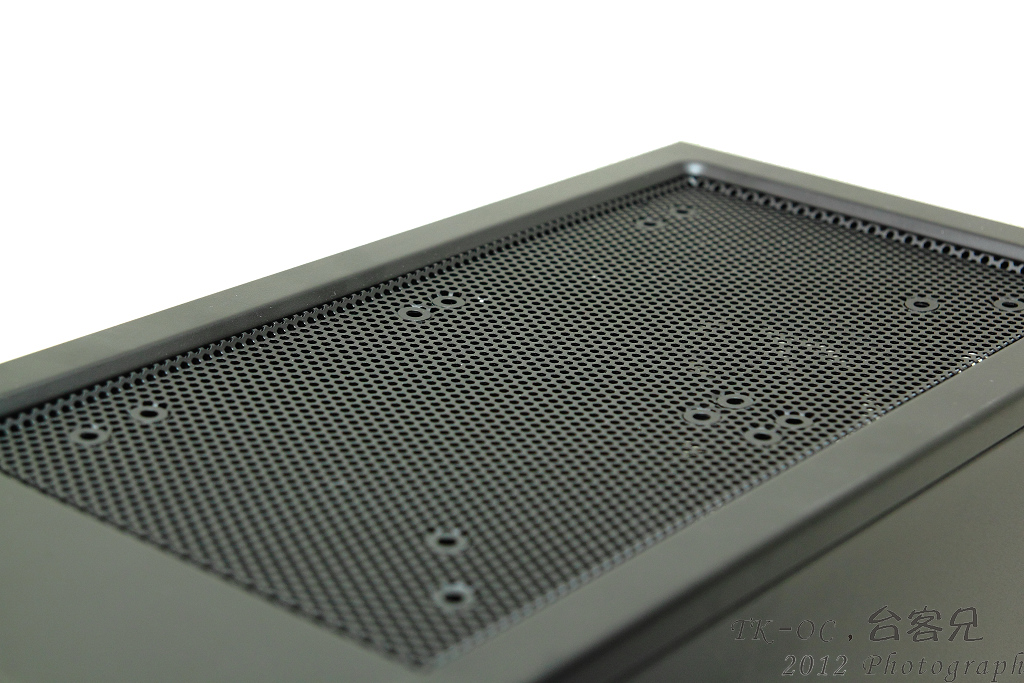
顶部可以安装2颗120mm或是140mm的风扇,当然自家的H100也是相容
前面板侧面开孔
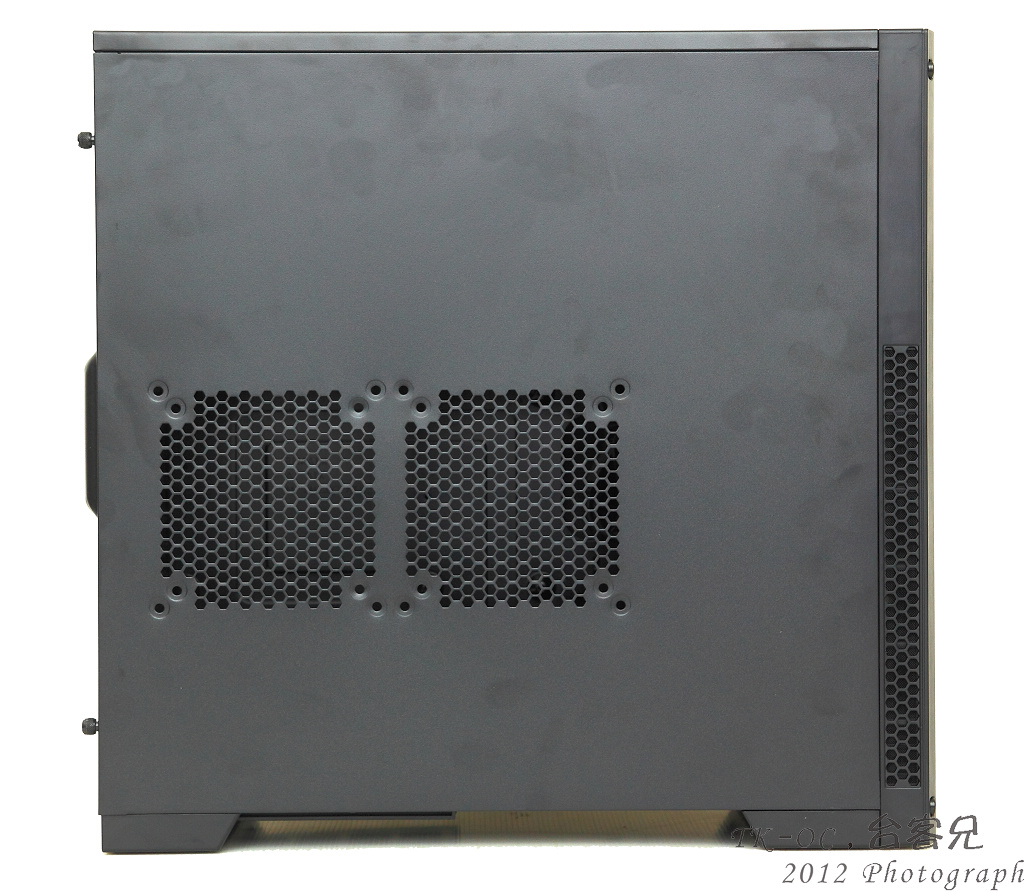
侧板可以在自行加装2颗120mm或是140mm的风扇!
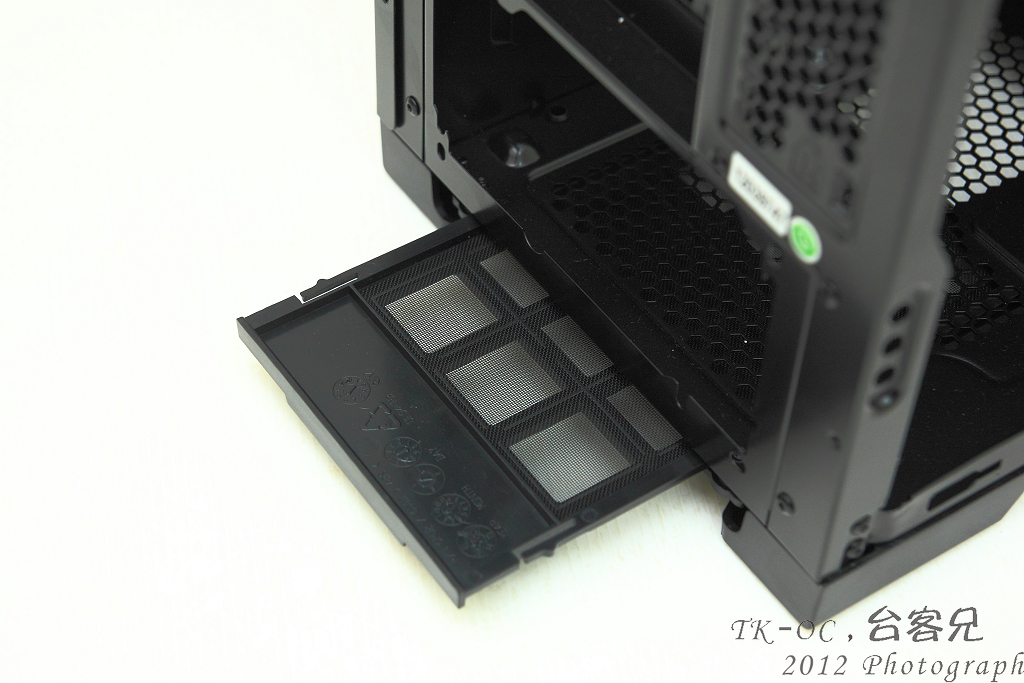
Gaming Case 300R底部
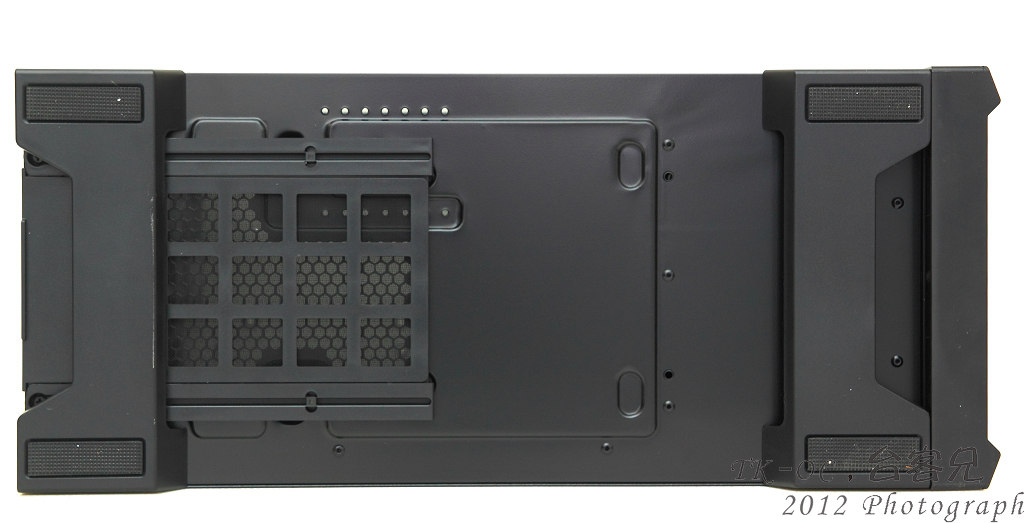
底部放置POWER的下方有可抽换式滤网
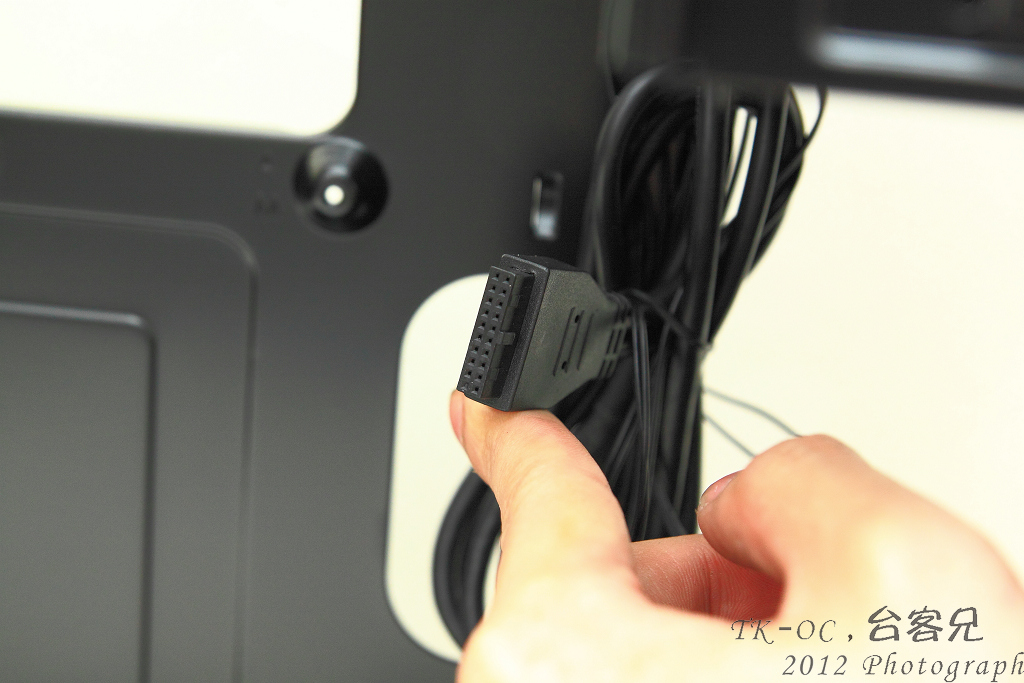
前置I/O线材是直接固定在机壳上,拆卸前面板不会拉扯到线材
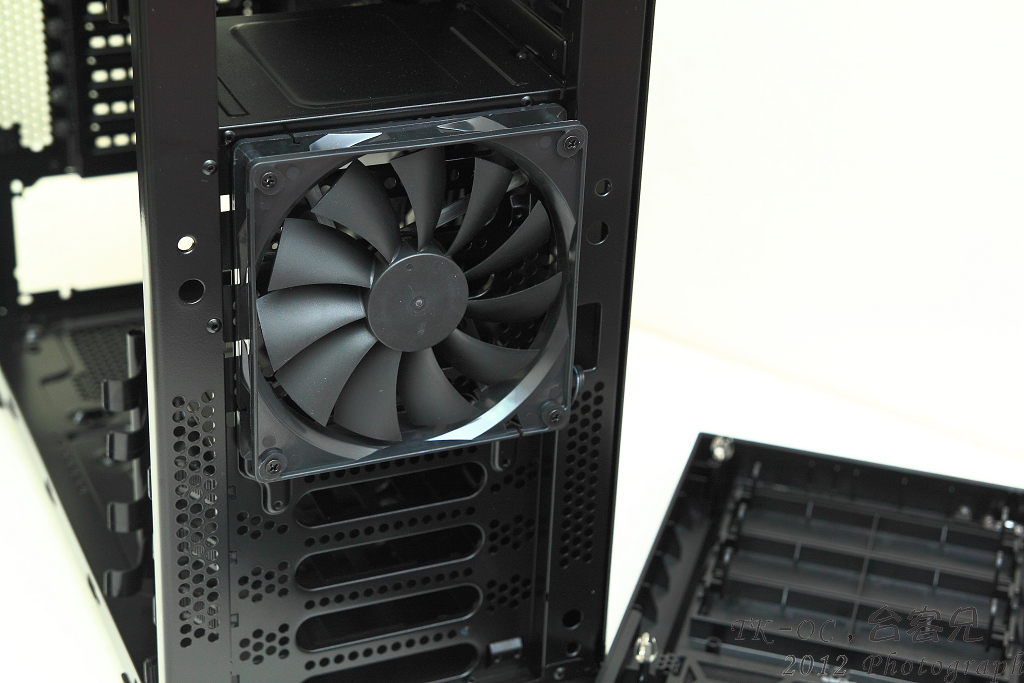
前置内原厂已附上一颗120mm风扇加强HDD区散热
内部空间一览
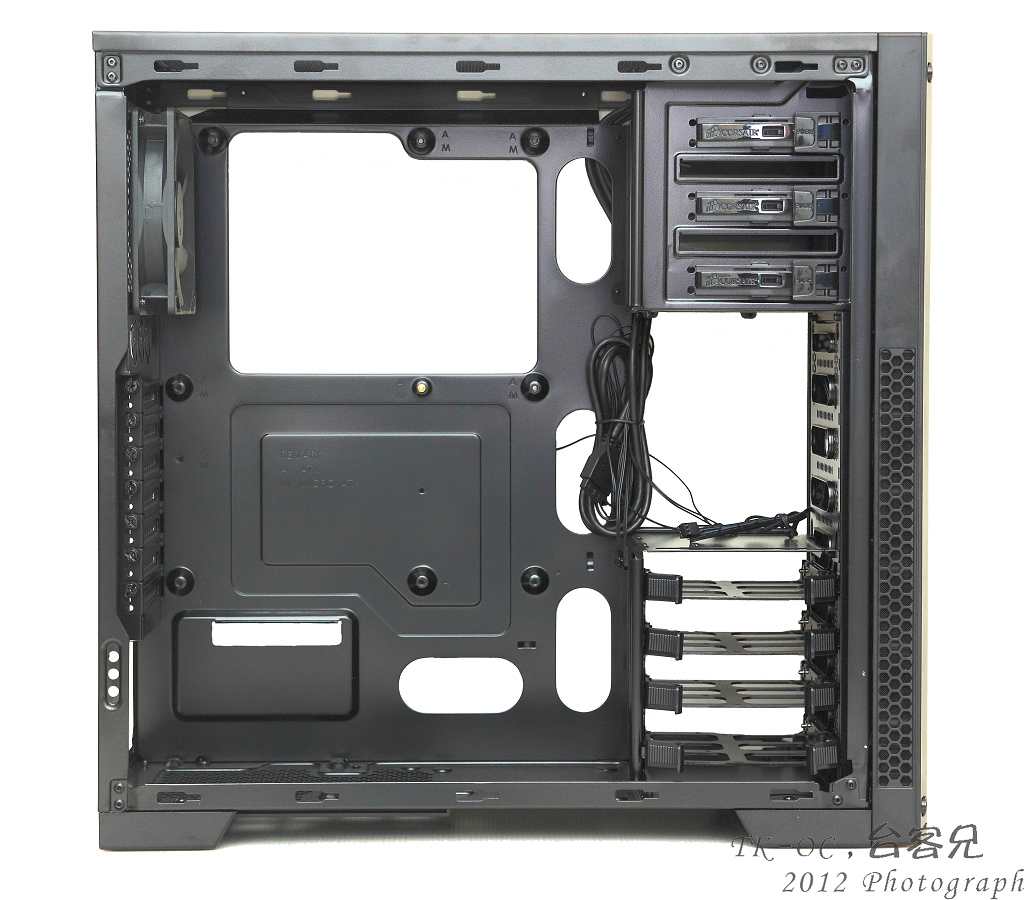
背面一览
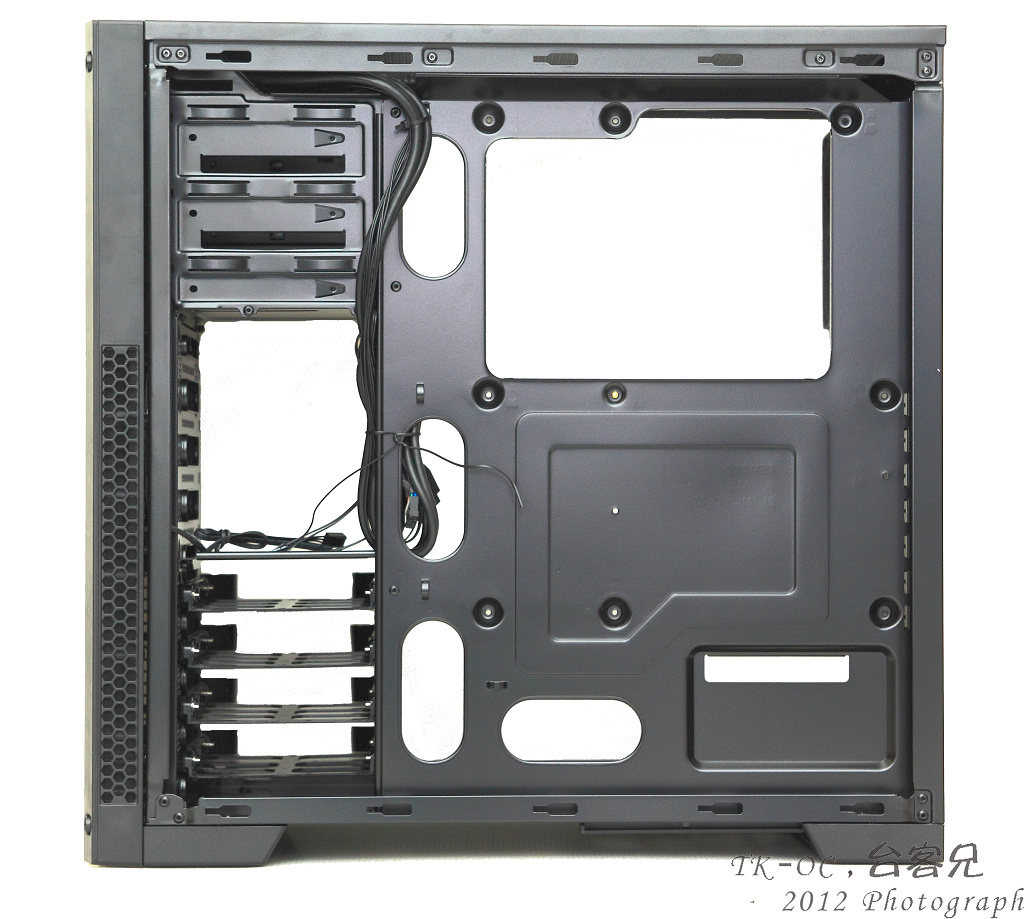
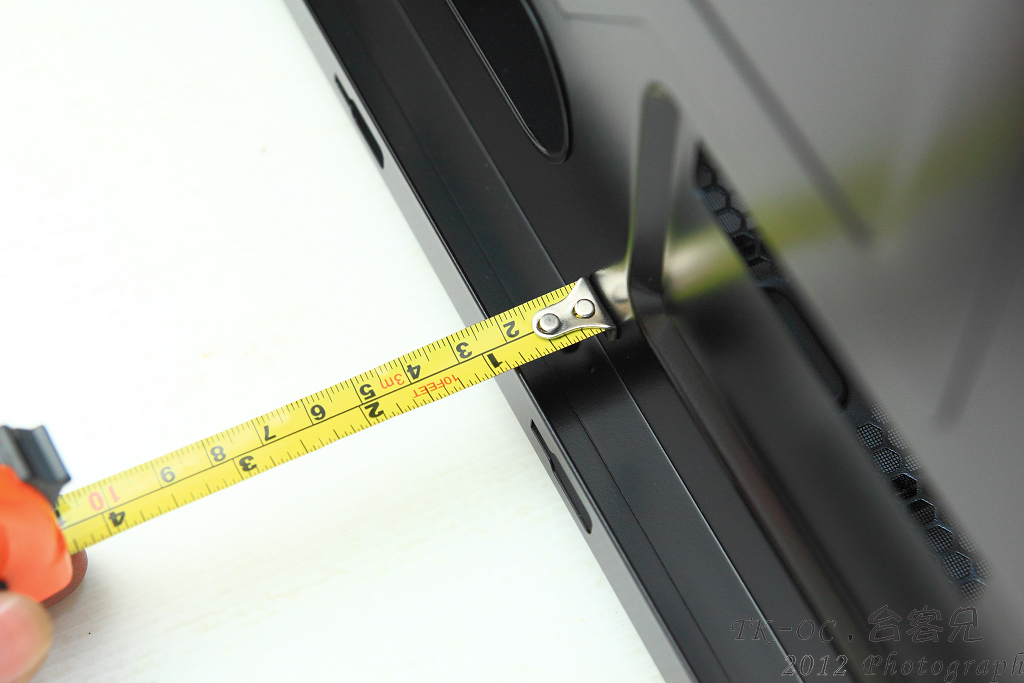
背部走线空间还算充裕
内置19Pin接头而非延伸
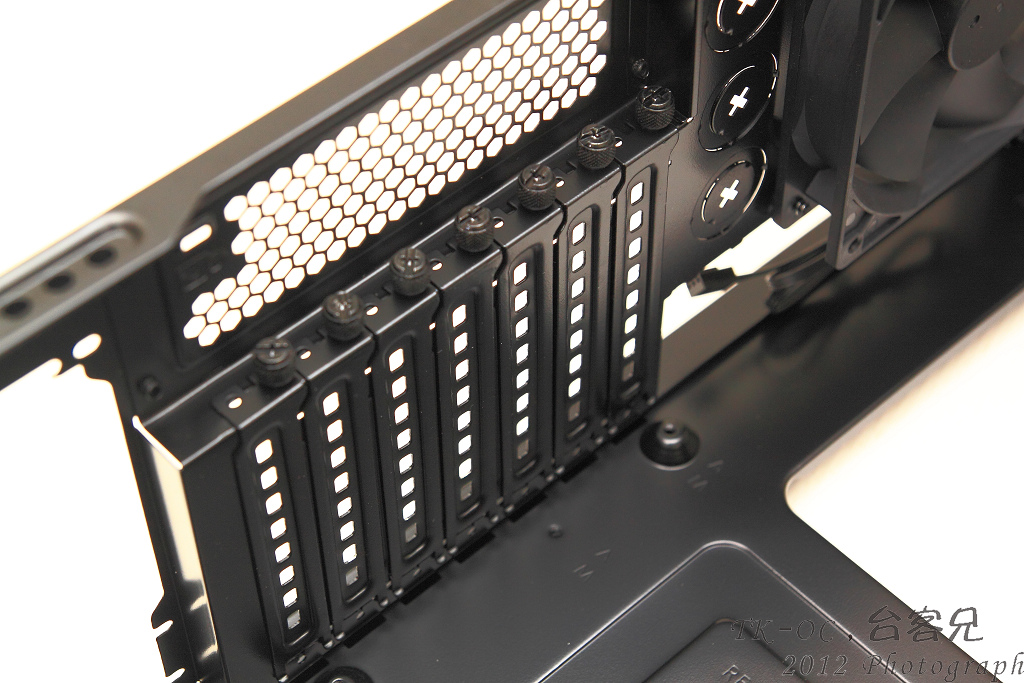
PCI档板采用可以重覆使用的设计
所附的配件

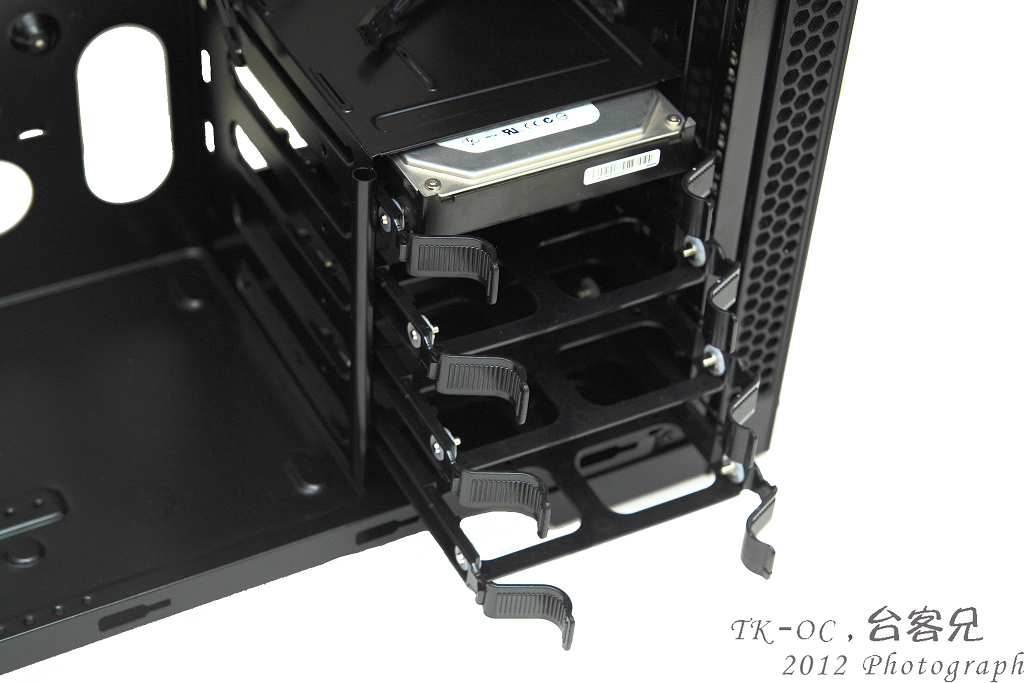
3.5吋HDD安装方式只需要把HDD扣入拖盘内
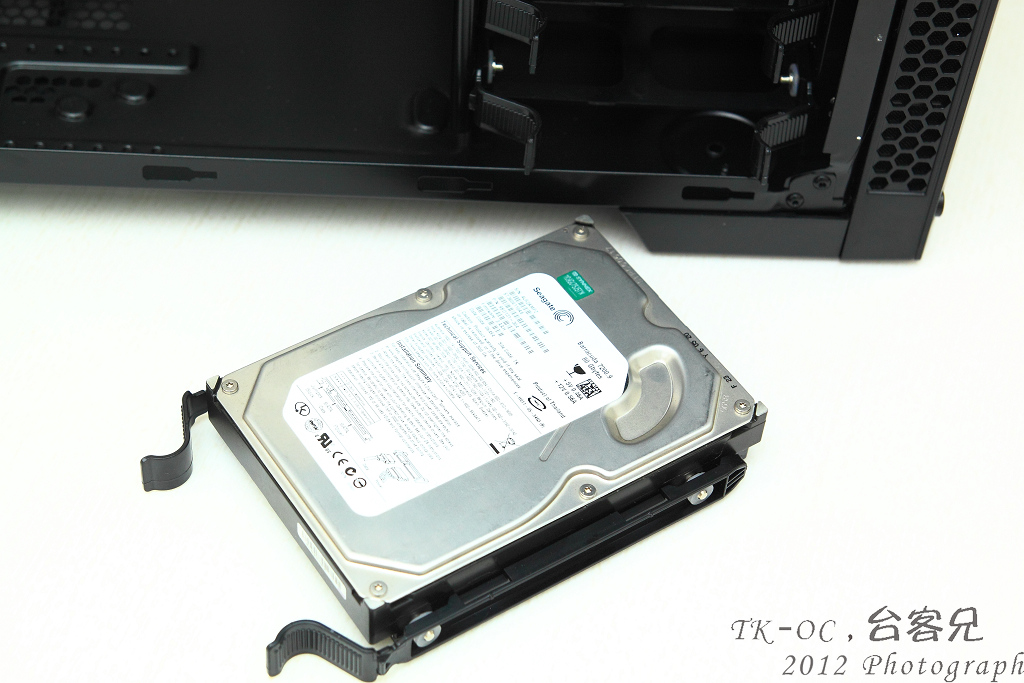
在推入置滑槽,之后听到喀一声就固定完成!过程均不需使用到螺丝
-------------------------------------------------------------
总结:
我最讨厌分享最后的总结,简单来说Case这种东西是很主观的
有的喜欢这样设计,也会有的人不喜欢!
但至少现在可以知道要入手Corsair的机壳不用再掏出更多的钞票
可以轻松入手中规中矩的设计Corsair入门Gaming Case 300R
~END台客兄~
|


